

Besides guaranteeing "virtual headroom" and an optimal level to process each track with any plug-in or outboard gear, the "gain staging" method described in the last installment also allows you to make your first "realistic" critical listening of the song you are about to mix, in order to fine-tune your vision about it and lay down the foundations of the right strategy to achieve your goal. In fact, listening to it under such conditions provides a more accurate perception of the virtues and defects, or both, of each of the elements, which favors the implementation of adequate solutions, as we are about to see...
Versus…
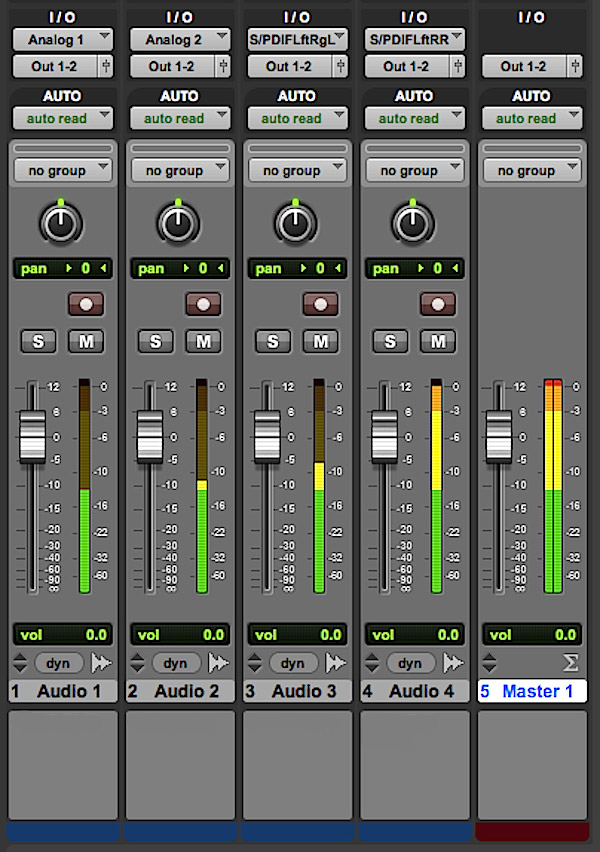
Before pushing the “play” button, make sure, once again, that the faders are set to zero and the pan controls are at the center. Grab a pencil and a sheet of paper and let it roll. If the volume seems too low, bring up the volume of the soundcard or the speakers, but do not touch the faders of your DAW.
Now listen…What is in the foreground and what is in the background? And in which moment(s)? Which tracks have a consistent perceived volume (or loudness) and which ones are constantly fluctuating? Are there any instruments conflicting with one another? At what level is the conflict?
Take note of all the above and then listen to the song again, but this time with the volume of your soundcard significantly lower. You’ll notice that the relation between elements has changed. Write down how it has changed and how that affects the feeling that the song conveys. Now, do the same at a much higher volume (but be careful not to fry your ears!). And, again, write down your observations.
Once you’ve done all this, it’s time to sit down and confront these notes with your vision of the mix you carefully put to paper before. Does the reality of the recordings at this stage correspond to what you had in mind? Chances are you won’t be able to respond with a loud and clear “Yes, ” but you probably won’t answer “No” categorically either. Instead, you’ll notice that certain elements already fit into your idea of the mix and won’t require too much work, which will allow you to focus your efforts on the rest. On the other hand, you are still in time to readjust your vision of the mix by taking into account details that may have slipped by previously. Consequently, you should now be capable of laying out a strategy to solve the first problems you have “spontaneously” become aware of.
Strategy…
Is all this too abstract? Well, then let’s talk about the lessons you can learn from these critical listening sessions, regarding your vision of the mix.
First off, an element whose loudness is relatively constant and high enough will need very little (if any) adjustments in terms of dynamics. Finding its place within the mix will be easily achieved using the volume fader. Inversely, a track whose volume is a bit erratic will demand special attention and the meticulous use of dynamics processors in order to stabilize it and be able to use it at will.
To solve conflicts between instruments you’ll have to resort mainly to EQ and panorama.
If you are not satisfied with how things currently are regarding the placement of elements in the fore- and background, a combination of reverb and/or delay, pan, EQ, and volume will be necessary to rearrange things according to your taste.
Finally, listening to the song at different volumes gives you an idea of the frequential content of your tracks. Without going into any technical details, the human ear is much more sensitive to mid frequencies, especially between 1 kHz and 5 kHz. This means that the elements that stand out more at low volumes are those whose frequency content is concentrated in the mids. Elements that are richer in high or low frequencies start to resurface as you increase the volume. This information will be useful when you want to process a signal in order to “trap” it in a given frequency range.
With this foundation, you should now have some solid tracks to approach the mix while respecting your vision of the sonic puzzle!
Just one last remark before we finish. In this article I’ve recommended you to modify the listening volume several times. This is the one and only case where this action is beneficial. For all following stages, there is no need to fiddle with the listening volume! Why, you ask? Well, because of what I just explained to you. Volume changes entail a difference in the perceived spectral balance at every new listening level, which can be devastating because the task of an audio engineer is none other than to stabilize and balance the different elements across the entire audible spectrum. Consequently, for the following stages, I recommend you to define a comfortable overall listening level, avoiding excesses, and to stick stubbornly to it .
More on this in the next installment.