

So, your studio monitors are in place, now you just have to connect and adjust them. Here are some tips to help you out.
Which input should be used?
Most times, loudspeakers provide different input connectors. It is recommended to use balanced XLR or TRS inputs, especially if your mixer or audio interface is equipped with balanced outputs. Use unbalanced inputs (generally RCA connectors) only if your audio interface has no balanced outputs. Unbalanced connections are more subject to interferences and signal loss, especially with long cable runs.
Setting the right monitoring level
If the output of your mixer or audio interface has a dedicated analog volume control, make use of it instead of trying to set the monitoring level digitally in your software, with the master bus, for instance. In case your audio interface has no such control, you can always add a monitoring controller to your setup.
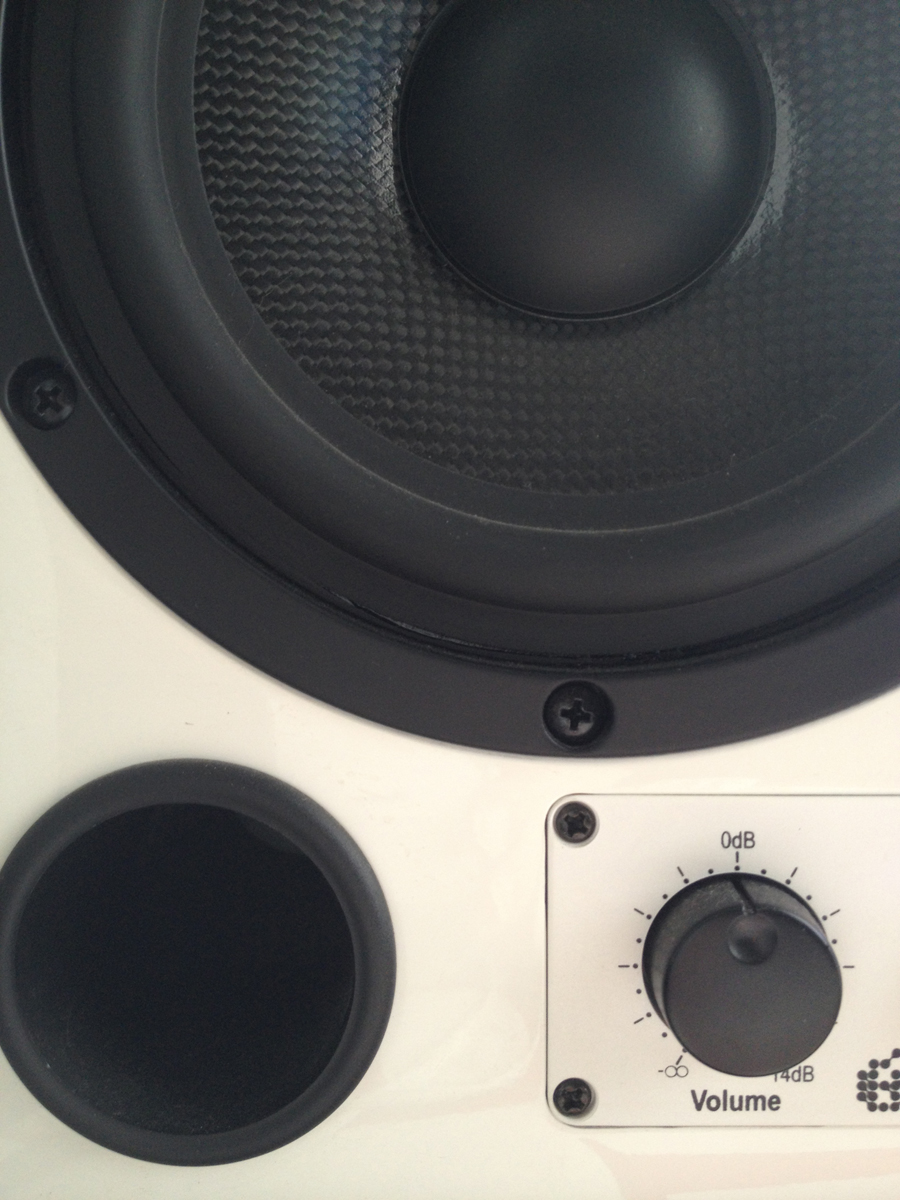
Some studio monitors have an input sensitivity setting or a volume knob. Adjust them according to your needs: set the output of your sound card at max and slowly raise the volume of the speaker until you reach the loudness you need for mixing. Depending on the situation, you can always decrease the volume using your mixer or audio interface afterwards. Keep in mind that it is not recommended to mix at high levels for evident health problems, but also due to a better perception of dynamics and spectral balance.
Filters and room correction settings
Some monitors include these setting options on the rear panel. They allow you to optimize the possible resonances in your room and/or inconsistencies in your setup. We recommend you to start off with these options set to their neutral position, so that you can get used to your studio monitors and/or your room. You might want to use a frequency generator covering the audible spectrum (20Hz to 20kHz) to reveal inconsistent (too loud or not loud enough) frequency ranges at the sweet spot. If any of the low, mid or high frequencies are too loud, attenuate them. If your room is too small and has no acoustic treatment, it is generally a good idea to attenuate the low frequency range.
Even if treating your room acoustics will always be the best option, you can alternatively use a software solution to adjust the frequency response of your monitoring system at the sweet spot. This sort of software analyzes the frequency response of the room and the speakers with a measurement microphone, and then adjusts the frequency response with an EQ so that it is more linear. Check out IK Multimedia’s ARC 2, KRK’s Ergo and JBL’s MSC1 systems.
And what about the subwoofer?

If you are a beginner and your room has no acoustic treatment, we advise you against buying a subwoofer. It will only increase the acoustic problems in your room, and it won’t be easy to find a good position for the subwoofer due to phase problems. The best way to manage the low frequency range is to use a pair of headphones with enough low-end.
Monitor speakers include mechanical components to reduce sound vibrations. These elements sometimes need a run-in period before performing at their full potential: please refer to the product manual. One last thing: don’t forget to turn off your monitors after each session. The integrated amps consume energy and might become hot. By turning them off, you’ll preserve your gear and your environment.