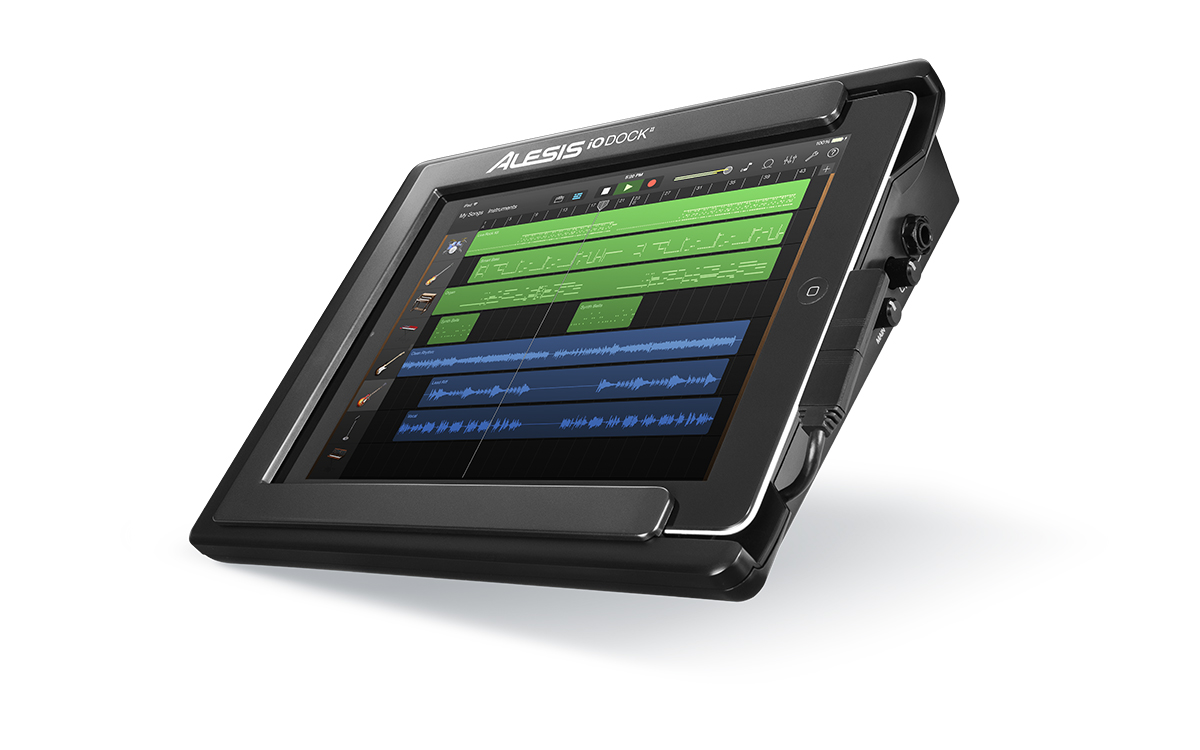
The iO Dock II is the latest version of the Alesis all-in-one audio and MIDI interface for iPad, and includes mic preamps, monitoring facilities and more, making music production super easy. Let’s see what’s new in this version, and take it for a test drive.
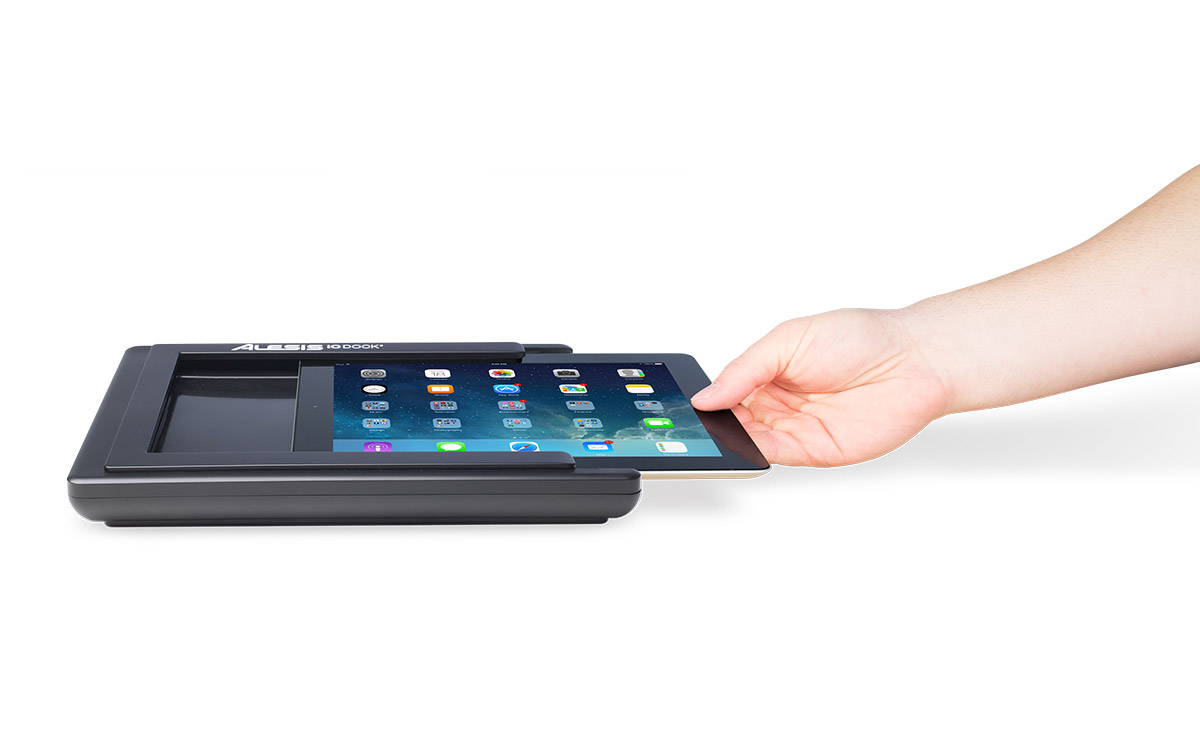
The big news is the addition of Lightning compatibility. The iO Dock II is officially compatible with any iPad up through the 4th generation. Although there’s a dock slot that the iPad slides into, it makes its actual connection to the iO Dock II via a short cable that comes out of the side of the unit, and for which there are 30-pin and Lightning adapters included. As a result you can also use the smaller iPad Air and even the iPad mini (although I didn’t try it) with it, but both (especially the mini) are too small for the dock slot, and therefore won’t be held securely if you move the iO Dock II around.
Another new feature is upgraded DI inputs. One item not returning from the original iO Dock is the video output. Alesis did not give a reason why it was omitted this time.
The 10-cent tour
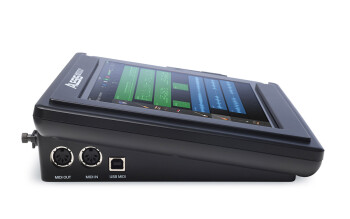
The iO Dock II is a wedge-shaped unit, made of of shiny black plastic that looks a little flimsy, but is actually quite sturdy. Most of its numerous connectors are located on the back of the unit and include two 1/4” line-level Main outs for feeding speakers or other gear, a Direct On/Off switch that lets you toggle between monitoring the input signal through the iPad or via direct hardware monitoring (to avoid latency issues when recording), two XLR/1/4 inch combo input jacks with individual input gain knobs and globally switchable phantom power, a mic/line toggle for Input 1; a 1/4” footswitch input for assignable CC messages (for example, if the app allows you could set up punch in/out for recording), a jack for the included power supply (more on that in a bit); a power on/off switch; and a cable restraint post, for wrapping the power cord around.
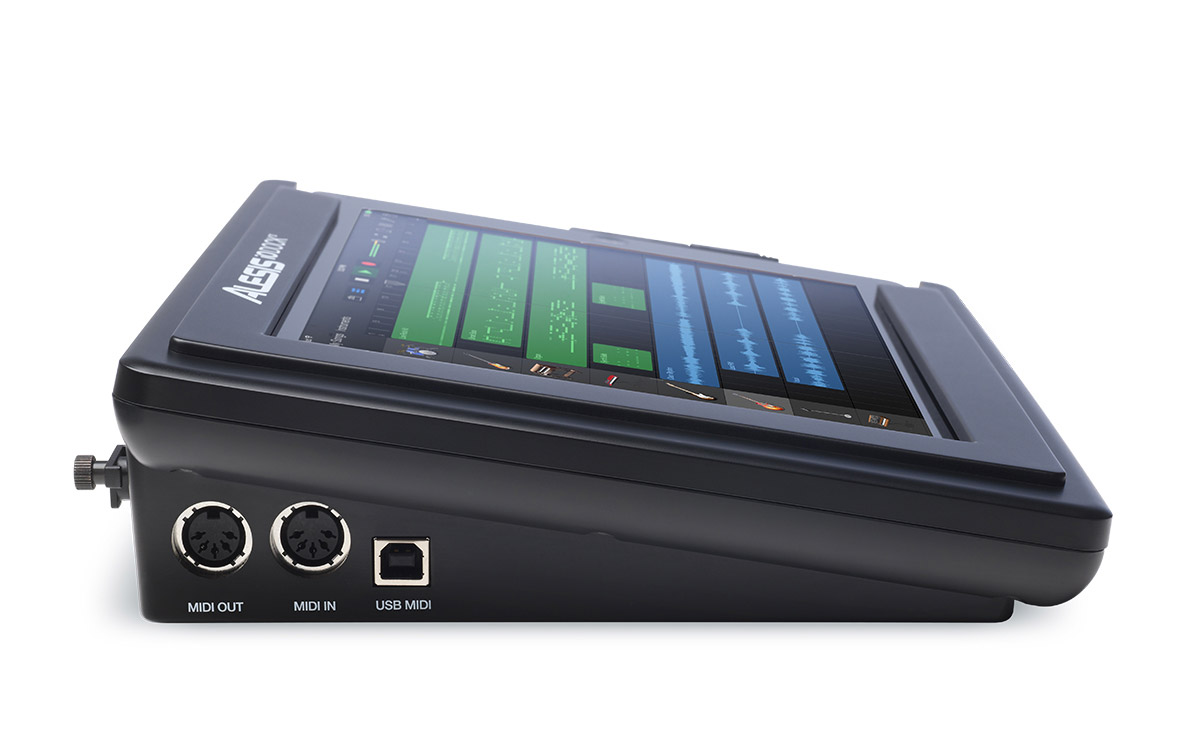
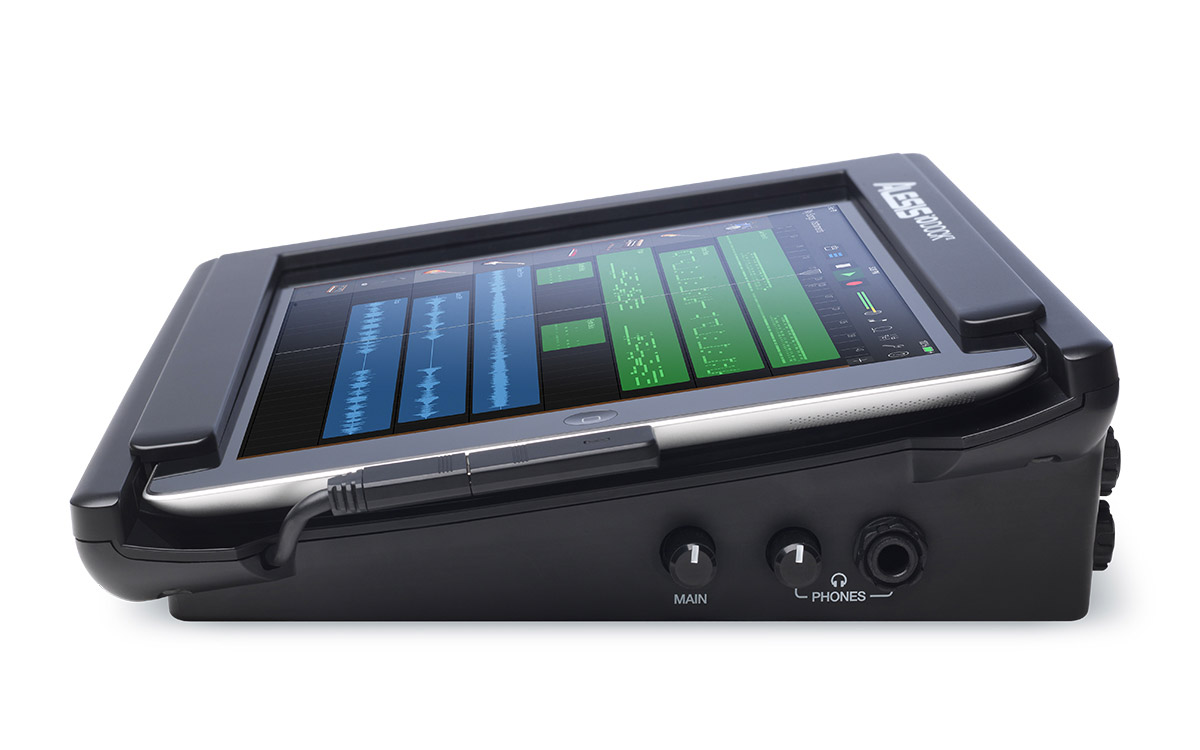
On the right side of the iO Dock II is a 1/4” stereo headphone jack with its own level control knob, and knob that the level of the left-and-right Main output jacks. The left side of the unit offers standard 5-pin MIDI In and Out jacks and a USB MIDI port that you can use to connect your iO Dock II and your computer, if you want to say, use your computer’s MIDI controller to play into the iO Dock. The iO Dock II’s USB port doesn’t support digital audio, however.
Connect and go
Setting up the iO Dock II was easy. First, I connected the external power supply, which is designed so that it doesn’t hog two spaces on a standard wall outlet or strip (plugs oriented horizontally). That is appreciated, as so many wall warts cover up two outlets while using only one. I slid my iPad Air into the doc slot, and, as mentioned, discovered that it had a lot of room to move around. When you think of a docking unit, the implication is that the dock connection is inside where the device to be docked slides into place. That’s not the case with the iO Dock II, where the connection between the unit and iPad happens strictly from the rigid dock cable that protrudes slightly from the side panel.
 |
Alesis doesn’t claim to support the iPad Air, but Apple announced that version of its tablet four months prior to the iO Dock II’s announcement, so you’d think they’d have had time to come up with an insert to use with Apple’s new tablet. Why come out with a product that doesn’t fully support the latest iPad? Luckily, as long as the iO Dock II is sitting on a stationary surface, your iPad Air should be fine in it. Still, I hope Alesis does address the size issue.
I next connected it the speaker outputs to a pair of powered monitors, and connected my MIDI controller keyboard as well. It was then that I realized that there was no way to “bus power” a MIDI controller from the iO Dock II. While there is a USB MIDI jack for connecting to a computer, it’s not configured for connecting a MIDI controller, so any keyboard or other controller you use has to be externally powered. That in conjunction with the lack of a battery option for powering the I/O Dock II, means that the device, unlike some other dock interfaces on the market that are battery powered, wouldn’t work in a truly mobile situation with no AC around. It also means that if you have a MIDI controller that you normally power via USB and you don’t have an AC adapter for it, you’ll have to get one if you’re going to use the controller with the iO Dock II.
Next I connected headphones and turned on the power for the iO Dock II. I was pleased to see that with the power on it was charging my iPad.
In session
Now that everything was connected, the next step was to try it out for a recording. I opened Apple’s GarageBand app, and, after setting up a looped drum track, recorded keyboard and bass MIDI parts from my controller using internal GarageBand sounds. Next I overdubbed an electric guitar part through the 1/4” input, and the track sounded good. The improved DI inputs provide for clean and quiet recording. The iO Dock II made recording on my iPad easier than I’d ever imagined it would be.
Here’s the mix of the session recorded with the I/O dock:

I also recorded an acoustic guitar in the same session using the mic input and 48V phantom power, and recorded a separate acoustic guitar session the Harmonicdog Multitrack DAW app, with the audio set at 24 bit, to check out the audio quality some more.
I found the iO Dock II’s mic preamps surprisingly good for a $199 unit. Just for some context, I recorded a similar two-guitar session on my computer into Pro Tools, using my FMR Audio RNP8380 preamp, and keeping the same mic and mic placement. The iO Dock II tracks, though a tad less full and a bit harsher in the high end, held up surprisingly well. Here are both, first the IO dock version (I imported both mixes into Pro Tools where I gave them identical compression, EQ, and reverb):


Regarding app compatibility, Alesis says that the iO Dock II works with “virtually any Core Audio or Core MIDI app, ” and, indeed, it worked fine with every app I tried it with.
iPad music enabler
Overall, my experience with the iO Dock II was quite satisfactory. It gave me all the features I needed to the experience was surprisingly similar to recording in my computer-based studio.
My wish list for improvements would include a battery power option for more mobility, a USB input designed to connect and power a MIDI controller, and inserts for the iPad Air and iPad mini so that they could fit snuggly and securely into the dock.
The iO Dock II gives you the connections and features you need to make some pretty serious music on your iPad, and that’s an indication of a successful product.