

Avid Pro Tools features industry standard audio recording, editing, and mixing, along with a reasonably well-featured MIDI section. But with an application this powerful, getting up to speed can take time. In this two-part story, we'll present a selection of tips and tricks to help you work more quickly and efficiently in Pro Tools.
Here in part 1, we’ll start with a few key preference settings, and then move onto keyboard shortcuts. These tips are specifically written for Pro Tools 10 and Pro Tools 11, but much of the information will apply to older versions of relatively recent vintage.
Configure Auto Backup
Pro Tools is a great program, but like any DAW, it may crash unexpectedly on occasion. If you’ve ever had a bunch of work wiped out in such a crash, you’ll understand how important the Auto Backup feature is. I guarantee it will save your bacon more than once. Go to Pro Tools > Preferences > Operation > Auto Backup, and make sure Auto Backup is activated. The default setting of saving every five minutes is a good place to start.
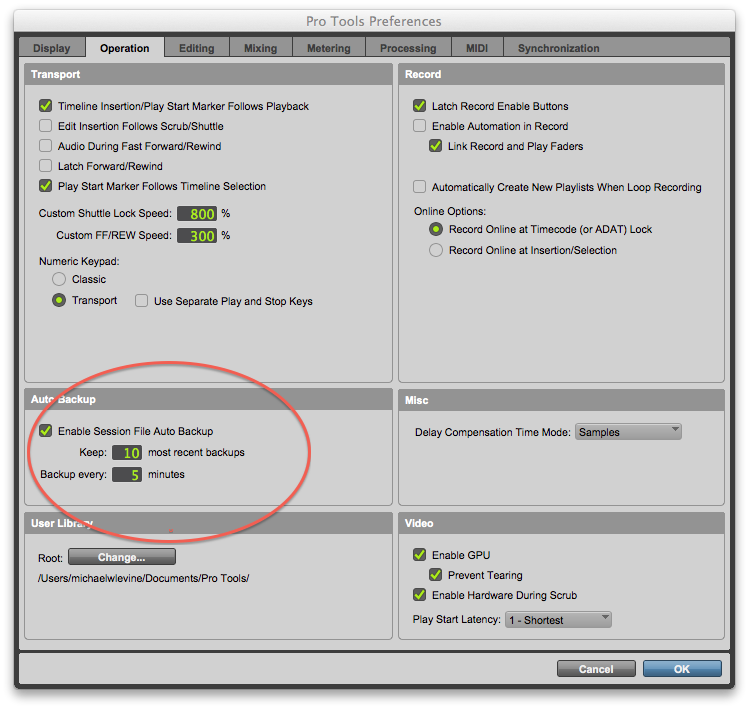 |
You can also choose how many backups to keep at a given time, and again, the default of 10 is a good choice. When set like that, it backs up 10 versions, and when it’s time to backup the 11th, it deletes the oldest backup, to keep the number at 10. Why not keep more? The backup files, which are session files, not audio files, can take up a lot of disk space.
If you do crash, you just go to the Session File Backups folder that’s created automatically in each Pro Tools session folder, open your most recent backup, and Save As with an appropriate session name, to remove the “.bak” from the file name.
Configure plug-in list format
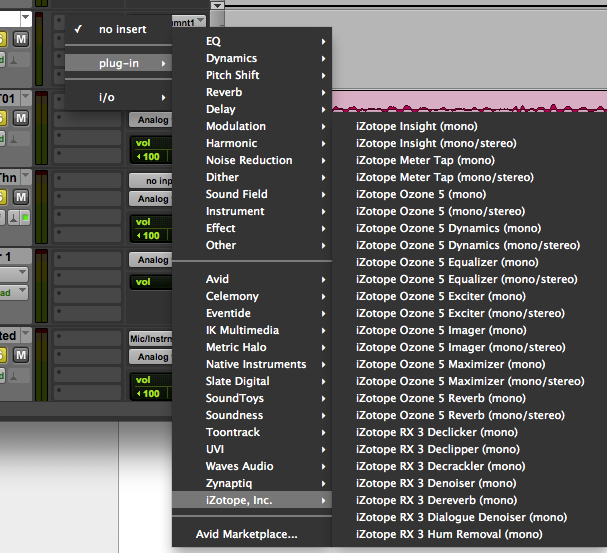
In the Display page of the Preferences is a setting for how your plug-in collection will be displayed when you choose an insert.
If you go to Pro Tools > Preferences > Display, there’s a pull down menu on the upper left hand side that says Organize Plug-in Menus By. The default setting shows them arranged by categories, which separates the plug-ins into EQ, Dynamics, Pitch Shift, Reverb, Delay categories etc. If you have a lot of non Pro Tools plug-ins in your collection, they’ll be all mixed together in the Category listings, and sometimes that can make it hard to find a particular plug-in quickly. If you select, “Category and Manufacturer”, instead, you get both the category listing, and below it, one that separates your plug-ins by manufacturer, which can be really helpful for quickly locating plug-ins.
 |
Get your loop recording set correctly
Pro Tools’ Loop Recording feature allows you to record a section over and over and then choose (or comp) the resulting takes. There’s a check box in the Operation preferences that says “Automatically Create New Playlists When Loop Recording.” For some reason, this is unchecked by default. If you don’t know that it exists, and you try loop recording, you’ll be baffled to find that only the current take is appears to be available, even when you set the track to show Playlists.
Even when “Automatically Create New Playlists When Loop Recording” is unchecked, Pro Tools is actually saving all your takes, but in order to access them you have to Control (Start on PC) click on a track lane, select Matching Alternates, and then Expand Alternates to New Playlists. It’s much easier just to change the preference to show the playlists.
Learn Key Shortcuts for Common Tasks
Almost anything you can do in Pro Tools can be controlled with a key command, or a “Shortcut” as its called in Pro Tools. As with any DAW, the more Shortcuts you commit to memory, the faster you’ll get around on the interface. Think about the time it takes to move your mouse up to a menu, pull it down, and select something to trigger an action or settings change versus the much faster action of entering a key command. Then multiply that time difference by the hundreds or thousands of actions you take during a typical session, you’ll realize how big a time saver it can be to use as many Shortcuts as you can. There are so many that you’ll never memorize them all, but if you learn the ones for the tasks you do most often, and try to keep learning additional ones over time, you’ll become much faster and more efficient.
You can find a list of all the shortcuts by going to Help > Pro Tools Shortcuts. Another great source is a book called The Complete Pro Tools Shortcuts, by José “Chilitos” Valenzuela, which is published by Hal Leonard. I’ve found it to be very useful to have on hand during a session, so I can look up and learn more Shortcuts.
Memorize the Mode Switching Shortcuts
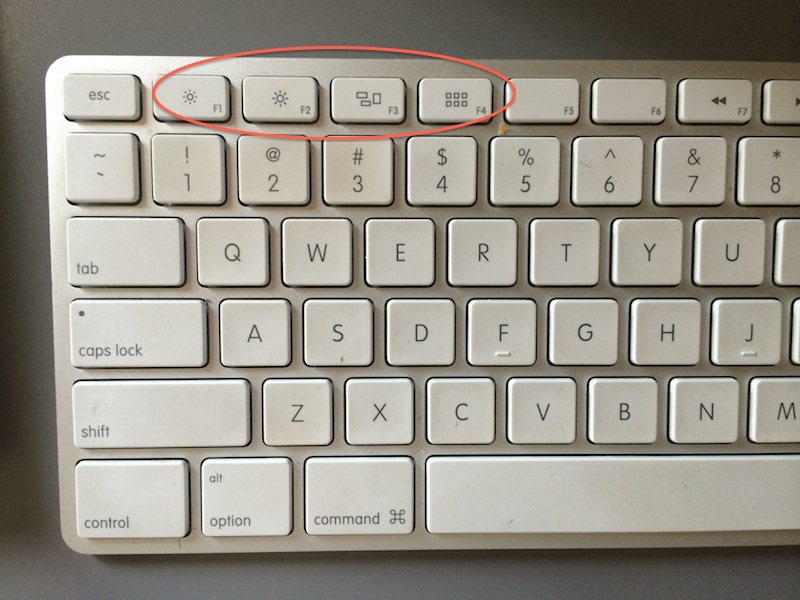
If you’ve spent any time with Pro Tools, you know how important it is to understand the various edit modes, Shuffle, Grid, Slip, and Spot. Since you’ll likely be switching between them a lot (especially Grid and Slip mode) it important to memorize the single-key Shortcuts for them: F1 for Shuffle, F2 for Slip, F3 for Grid, and F4 for Spot mode. Using those Shortcut keys will help you work a lot faster.
 |
Learn to Use Modifier Keys
Pro Tools takes full advantage of the modifier keys on your computer’s keyboard to create some very useful Shortcuts. For instance, the Option key on a Mac (Alt key in Windows) is very powerful. One of the ways to use it is for selecting tracks in the Mix or Edit window. If you have multiple tracks selected and you want to only select one, Option (Alt) clicking on a track will de-select them all, and then you can release the Option (Alt) key and select the track you want.
Similarly, Option (Alt) clicking on the Mute or Solo switches for any track will turn them all on if none are on, or turn the all off if one or more are on. You can also add inserts or sends to all channels by Option (Alt) clicking on one and adding the insert or send. Depending on the plug-in, it will either add it to all channels or to all like channels (stereo or mono). In either case, it really speeds things up for you.
The Shift and Command (Control on Windows) keys are also useful, and one important example is for selecting tracks. Whether you’re in the Mix or Edit window, you can select groups of adjoining tracks by selecting one and then Shift clicking on the last one in the series of tracks you want to select. For selecting non-adjacent tracks, you can use the Command (Control) click modifier.
In part 2, we’ll look at using the Smart Tool, MIDI Real Time Properties, creating templates and more.