

Knowing how to properly string a bass guitar is basic knowledge you have to master. It will set the right foundations for a pleasant playing while avoiding some other troubles with your sound. Here you have some valuable tips.
The tools:
- Cutting pliers
- Tuner, tuning fork or phone (the dialing tone is an A).
- String set
- For cleaning (optional): household soap, clean cloth, castor or lemon oil, and steel wool.
String gauge plays a role
It’s important to choose your string gauge carefully. You can’t go wrong if you choose the string gauge used originally with your bass, which also avoids you having to set the neck again. Of course, changing strings is also a good opportunity to choose a different string gauge so you can find out which one feels more comfortable to you. But in that case, you’ll have to adjust the truss rod on the neck. That’s something we’ll describe in a future article and here we will only focus on stringing your instrument with the same string gauge as the original. Basically, bass guitars are stringed with a standard string gauge from 45–100 to 45–105. If you don’t know which string gauge your strings have, a simple caliper can help you eliminate any doubts.
How to remove old strings?
Some bass players like to keep their old strings (it might come in handy to have an old pair around), while others just throw them away. Depending on which of these options you choose, you can remove your strings one by one manually (or with a string winder) or simply cut the strings with some pliers. You can remove all strings at once to see the bare fretboard (and don’t worry, even if there is no tension on the neck it will be safe).
The (Cleaning) Rite of Spring
Now that the fretboard is naked use the opportunity to clean it.

A wet cloth with some household soap is enough to clean up the dirt on the fretboard: rub firmly between the frets with your soapy cloth, then rub again with a wet cloth and, finally, dry the residual humidity with a dry cloth. Use a real cloth instead of paper tissue: it’s less expensive and avoids odds and ends of paper. You can remove corrosion from the frets using steel wool, just grab some with your thumb and index finger and rub the frets one by one. In doing so, don’t forget to protect the fretboard: there are special aluminum shielding plates to do this, or you can use tough adhesive tape. If your fretboard is made out of rosewood, you can pamper it with a bit of castor or lemon oil — lemon oil is more expensive but doesn’t smell like cod. You can also use paraffin oil. If your fingerboard is made out of maple a simple cleaning is enough.
Stringing and cutting
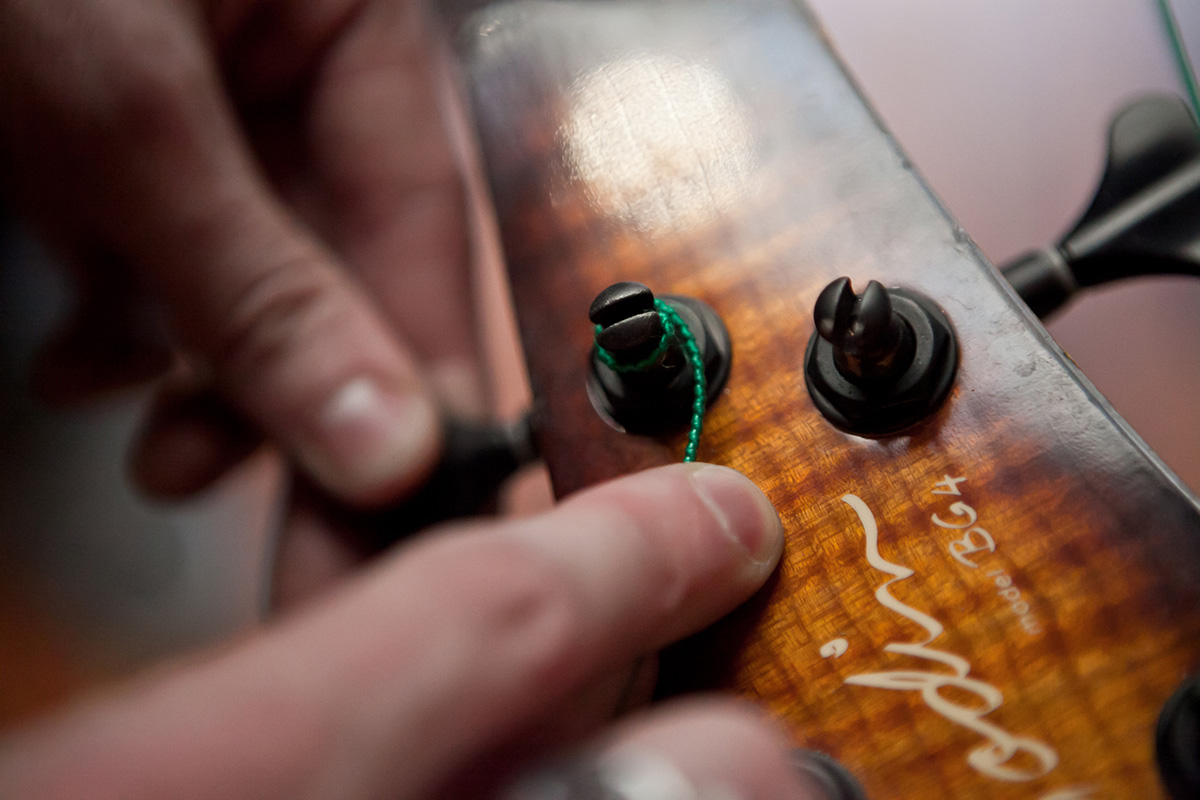
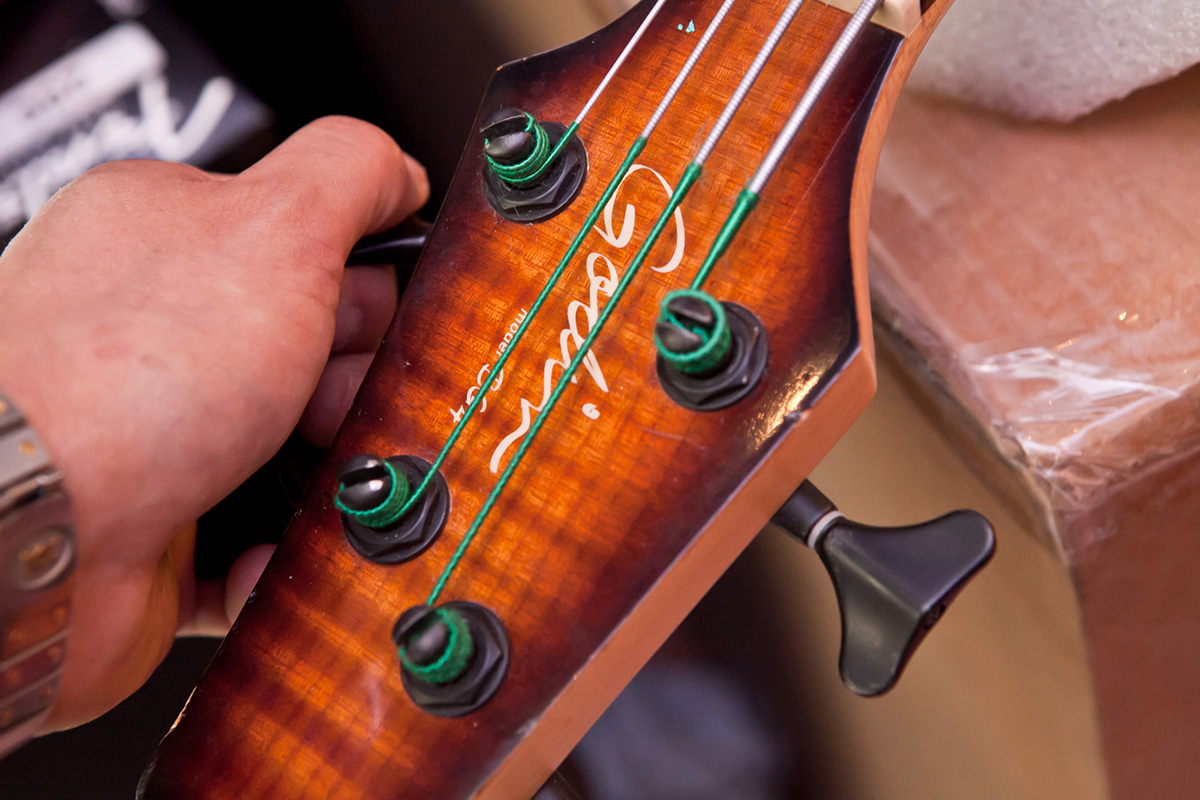
Load your strings one by one into the bridge (step 1). Cut each string. Attention! This step is crucial. Cut the strings so that they are long enough to reach the machine head and short enough to avoid overloading it. The string must make at least three windings around the machine head. The goal is to spread the string across the whole shaft. Not all machine heads have the same shaft diameter, so you’ll have to find out the best way to determine the proper string length (step 2). Once the strings are cut you can wind them. Insert the end of the string into the center hole of the machine head shaft. When the string reaches the bottom of the hole, bend it at 90° so that it is tightened by the shaft slot. Now, turn the wing nut of the machine head to wind the string. Take care to turn it in the right direction: the machine head shaft must turn counterclockwise. Make sure that the string is winding from the inside to the outside of the neck. Take your time and wind the string properly: it should bend from the bottom of the shaft to the nut. If the headstock of your bass guitar is straight, it’s easier to guarantee that the strings reach the nut with enough angle, which is no minor detail. Wind until your reach the right tone. (step 3)
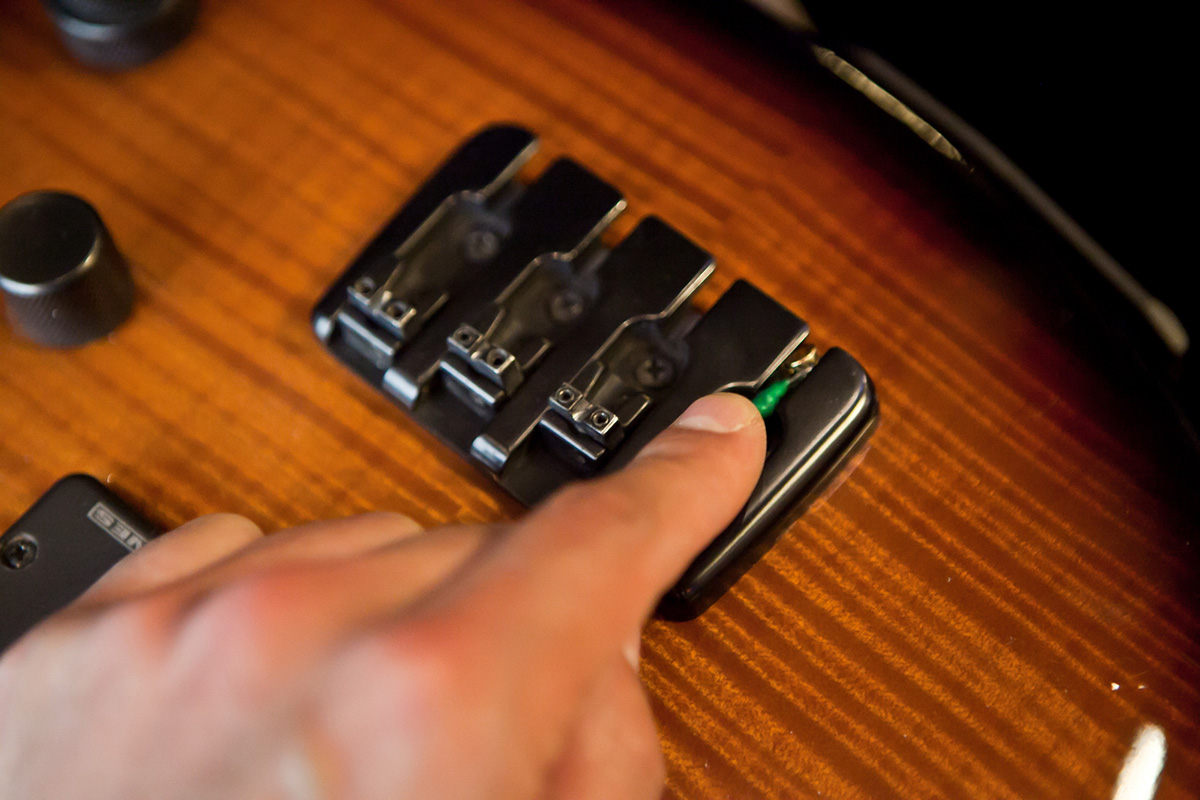 Step 1
|
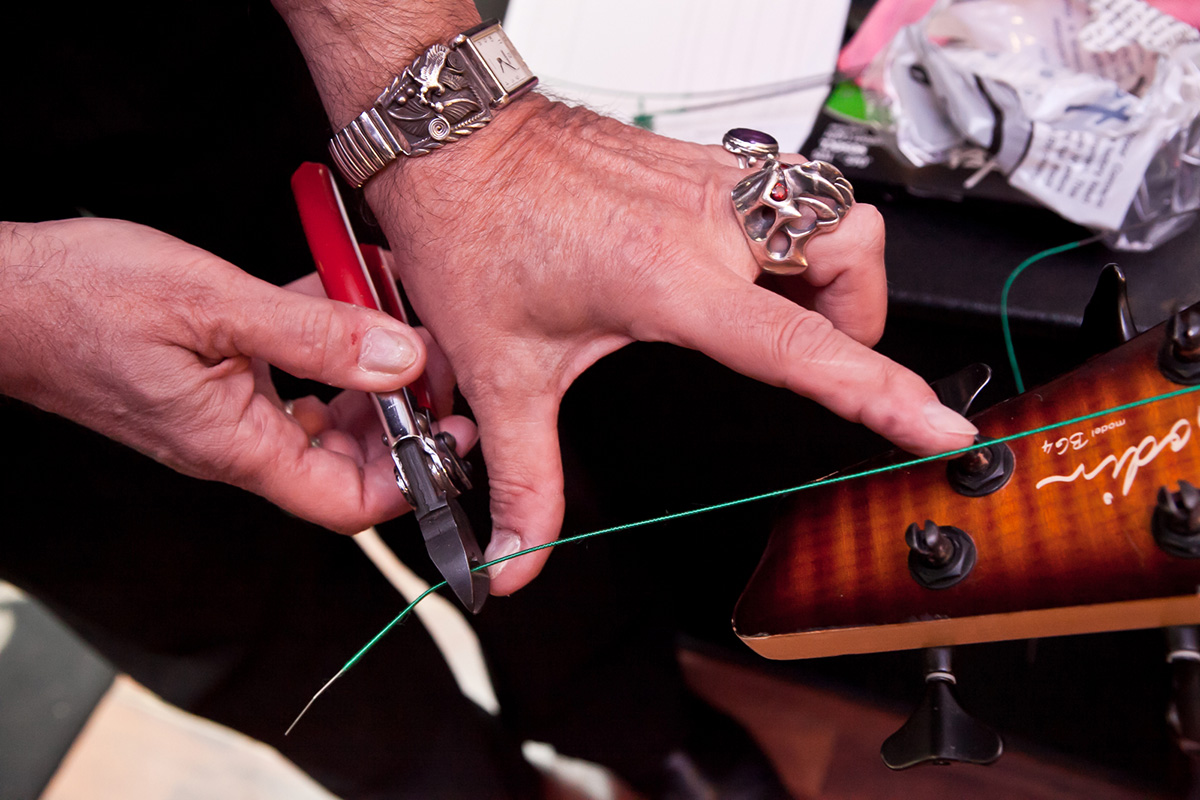 Step 2
|
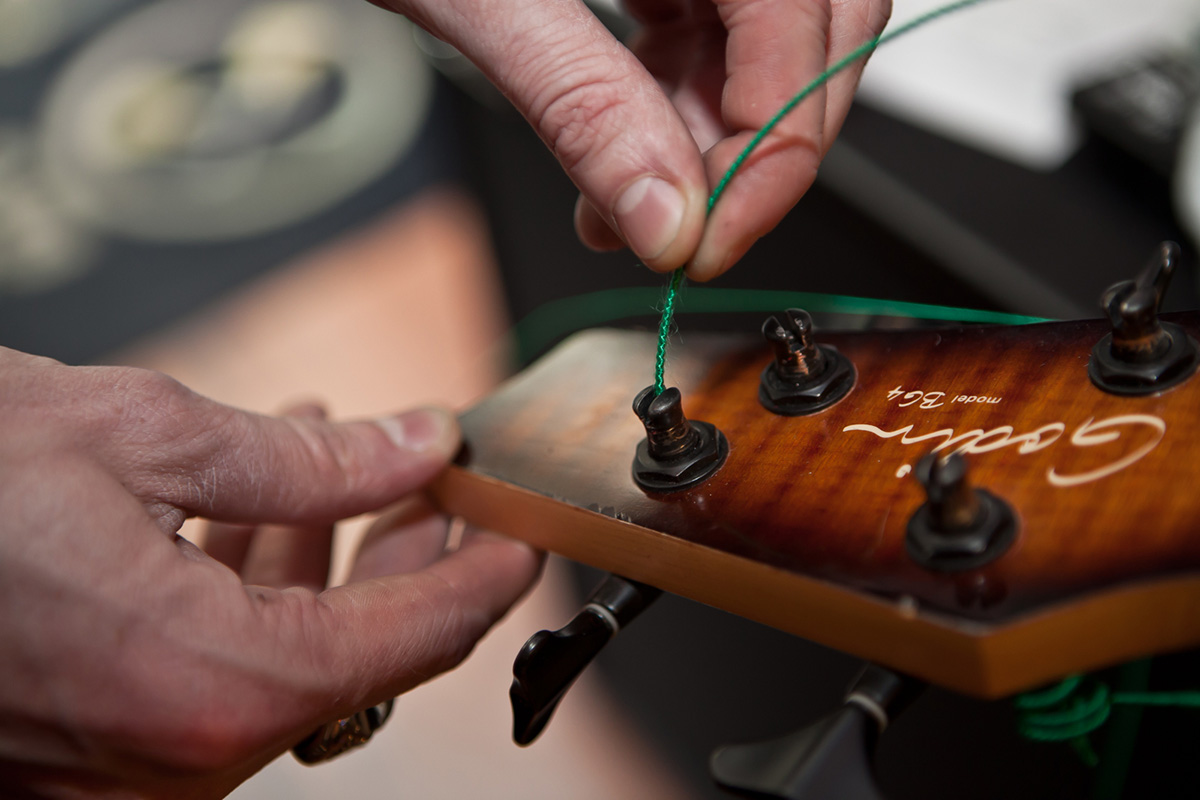 Step 3A
|
 Step 3B
|
 Step 3C
|
 End
|
Stabilizing your string set
New strings tend to detune just after they are winded. You’ll have to go through a short practice session to loosen the strings and stabilize their tension: firmly pull each string (but not too firmly) and tune it again. Repeat this procedure until all strings stay in tune. And don’t hesitate to use this session to work on your slapping.
To be avoided:
- Cutting too long or too short.
- Bending the string sharply before fitting it into the machine head shaft.
- Bending the string sharply by winding.
- Winding in the wrong direction.
- The string not sitting properly around the machine head shaft