

You have a number of options when it comes to the bit-depth of your DAW or other digital audio recording session including 16-bit, 24-bit, or 32-bit floating point. But do you know why you’d choose one over the other, and what the ramifications are? In this article we hope to demystify the issue of session bit depth, and look at what are the best bit-depth settings for recording and mixing. We'll also look at the importance of dither.
A bit of background
First, just to clarify for those not sure, the bit depth of digital audio measures the amount of data used to digitally represent each sample that’s recorded. The more bits, the more precisely each sample can reproduce the audio it represents. Therefore, the higher the bit depth, the better the resolution of the audio and the more accurate the recording. (The sampling rate, which represents how frequently the audio is sampled, has a big impact on quality, as well, but here we’re only looking at bit depth.)
Using a higher bit depth does have a drawback: Your file sizes will be larger. More data is being recorded for each sample, and therefore your audio files recorded at 24-bit will take up more space than those captured at the 16-bit setting. Audio recorded at 32-bit (floating point or integer) will occupy proportionally more space than 24– or 16-bit recording, and so forth. Most music these days is listened to (aka “consumed) as MP3 or AAC audio, which are both referred to as “lossy” codecs, meaning that they use data compression to make the file sizes smaller than a full-bandwidth audio format such as WAV or AIFF. The result is audio that is somewhat compromised quality-wise when compared to, say, CD quality, which is uncompressed 16-bit, 44.1-kHz audio.
So you might be asking: if your music is going to be consumed at 16-bit, 44.1 kHz at best, and is likely to be encoded with a lossy codec, why bother with 24-bit audio at all?
The answer is “headroom.” When you record at a 24-bit setting, you have more dynamic range than at 16-bit (144 dB at 24-bit to 96 dB at 16), which means you can record at a much lower level without getting to the point where the recording is so quiet that you start hearing noise.
Why is this important? First, I should point out that, no matter what bit-rate you’re recording at, if the audio goes over 0 dBFS (dB full scale) as you record it, you’re going to get distortion from clipping. So, you never want to do that.
The easiest way to prevent that from happening is to make sure your peaks are low enough that there’s no chance they’ll go over. Therefore, the larger dynamic range and lower noise floor at 24-bit lets you turn your input levels down more to keep peaks from clipping. If your peaks max out at about –8 or –10 dB, and the bulk of your program material is around –20 or so, you should be fine in a 24-bit session.
So when it comes to recording, 24-bit is worth using, even though it will result in larger file sizes. And no, 32-bit is not better than 24-bit for recording. Why? Because there are no true 32-bit converters at this point in time, so your recording will be at 24-bit when it comes out of the analog-to-digital converter of your audio interface and into your DAW, which will then up-convert it to 32-bit in such a case. So you’d still effectively be recording at 24-bit.
32 ways to float
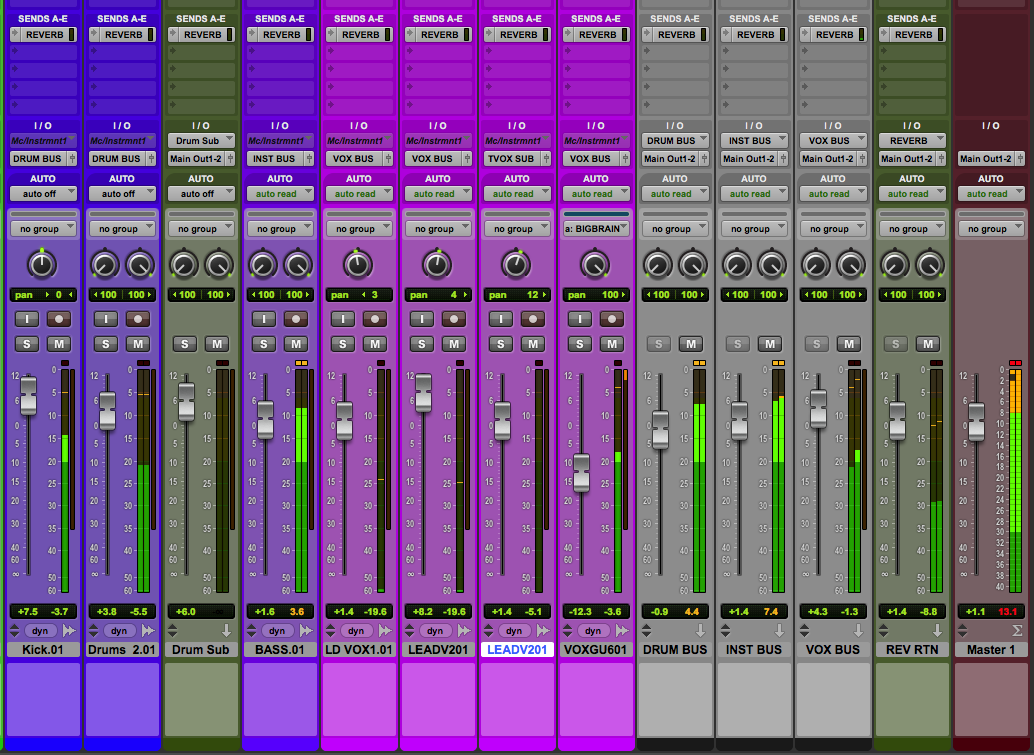 A mix in 32-bit floating point format can
exceed 0 dB as long as you reduce the level
of the mixed file before converting to a lower bit rate
|
Although there’s no advantage to recording in 32-bit floating point format, mixing in it is another story. This format (don’t confuse it with 32-bit integer, which is a fixed-point rather than floating-point format) has a theoretical headroom in the neighborhood of 700 dB, which is significantly higher than you get in 24-bit.
Here’s how you could use that to your advantage: After you’re all done recording at 24-bit, open a new session in 32-bit floating point format and import your audio in. Your DAW will automatically convert the files to match the session bit depth. Now, due to the flexible nature of the 32-bit floating point format, you don’t have to worry about clipping within it. So if you end up overloading a particular channel or even a bus, it won’t actually be clipped (as long as it stays in 32-bit floating point format). You still want to gain stage your mix correctly, but if you find that tracks are starting to go over 0 dBFS, you don’t need to worry.
You have two options that will produce clipping-free files when you’re ready to bounce your mix. Bounce to a 32-bit floating point file, and then open it and normalize the file to get it under 0 dBFS or just apply negative gain to get it under 0 dBFS, and the mix will be free of any clipping. Then you can down-convert it to 24 or 16 bits. Make sure to do the gain reduction while your audio is still in the 32-bit floating point format, otherwise signals that went over in the 32-bit file will also be over at the new bit-depth.
The other way to do it is to lower your master fader on your 32-bit floating-point mix session, so that at no point during the song (or other recording) do the red clipping lights come on. Then just bounce to 24– or 16-bit, and you will also be distortion free.
All that dithers
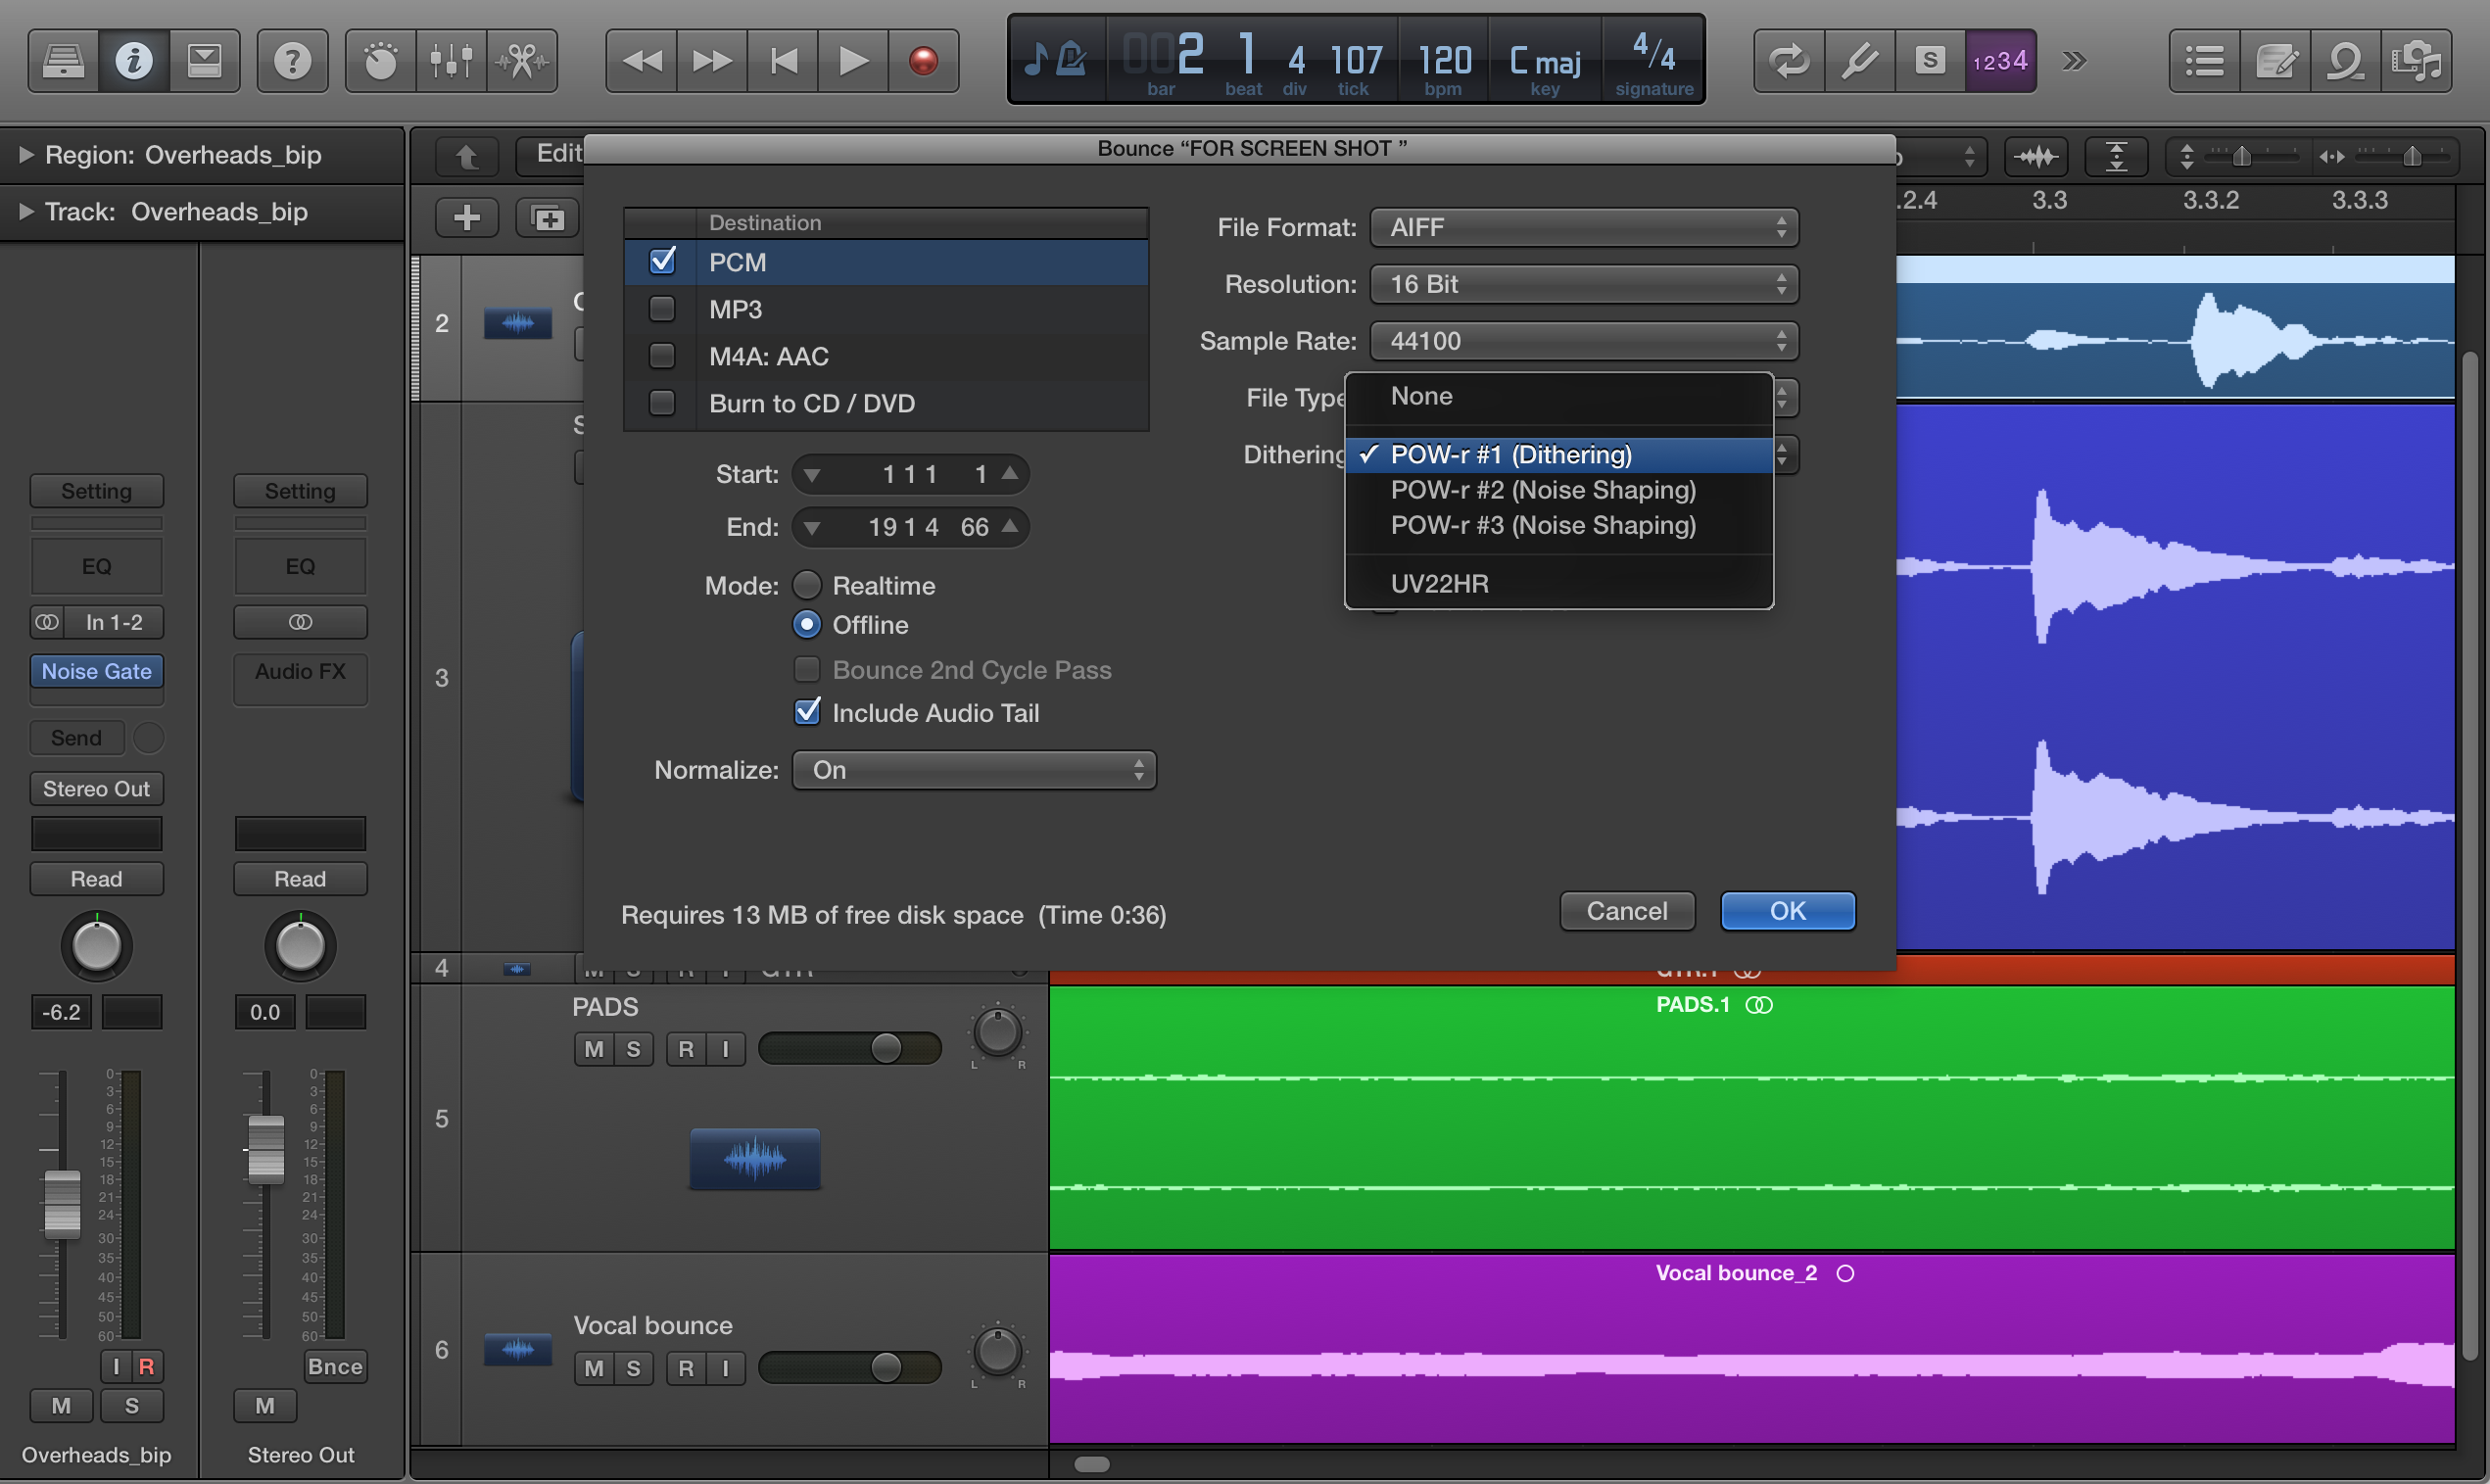 Like many DAWs, Logic Pro X offers several dither
and noise-shaping options
|
The subject of lowering the bit depth brings up another important issue: dithering. I’m sure you’ve heard that word bandied about, but you might not totally get how it works. When you’re reducing the bit depth of a sample, the process can cause what’s called quantization distortion, which adversely affects the sound quality.
Dither is noise that’s added to the signal before the bit-depth reduction takes place, that helps eliminate this distortion. It’s counter-intuitive to think that adding noise will make something sound better, but in this case it does. If you want a more in-depth explanation of how dither works, iZotope offers a free downloadable document on the subject that explains it in an understandable way.
The point is, that when you’re going to reduce the bit depth of a file, especially when reducing it to 16-bit from a higher bit depth, you should make sure your audio program is adding dither. Many DAWs give you the choice of several dithering algorithms, some of which use a technique called noise shaping, which is designed to minimize any side effects of dithering. If your DAW gives you a few choices, experiement, and see which one sounds best for your material.
Whichever one you choose, it’s best to dither only once, and wait to do it until it’s the last step, after you’re done with any processing on the audio. If your project is going to be professionally mastered, you’ll want to keep your files at the bit-depth you mixed at and let the engineer deal with the dithering.
Also note that if your MP3 or AAC encoder supports source files that are in 24-bit or 32-bit format, encoding them directly from those formats may yield slightly better sound quality than if you convert the file to 16-bit first (adding dither, of course) and then encode the lossy file.
Thanks to Alexey Lukin, Principal DSP Engineer at iZotope, for technical consultation.