

In this installment, we will examine the first practical task of your mix, which also happens to be the last purely technical one. Once you've done it, you will finally be able to confront your vision of the song with its "reality" in order to establish a mixing strategy.
Gain staging

I have no intentions of discussing yet again the importance of Gain Staging. It has been addressed several times on Audiofanzine, especially in articles like “Levels in the digital world” and "Why Headroom is Important." So, there’s no point in reinventing the wheel!
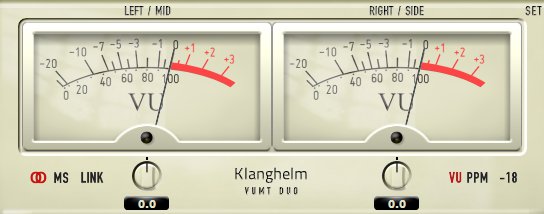
When mixing, it’s important to verify and, if needed, adjust the gain structure of each of your audio tracks. To do that, you’'ll have to make use of the “Trim” function of your sequencer, or a gain control plug-in as the first insert on every track. There are heaps of the latter, both free and paid, like Blue Cat’s Gain Suite or FreeG by Sonalksis. For the following procedure, you’ll also need a virtual VU-meter, like the excellent Klanghelm VUMT, for example, which also has some gain utilities.
This way of doing it is very easy, quick and effective and you don’t even need to turn on your speakers. First of all, make sure that all the tracks are at unity gain, which means, all faders ought to be set to zero. Also check that the pan controls of all tracks are in the center. Activate the “peak hold” function on your DAW, which will display the value of the highest peak for each track, after playing back the entire song.
Now, focus on the tracks that have a significant peak factor ─ put simply, the difference between the peak level of a signal and its mean value. Sounds with a high peak factor are usually percussive, like the elements of a drum kit, percussion instruments, etc., but also a groovy slap bass, for instance. Take these tracks and look at their respective maximum level, as indicated by the peak meter of each track (thanks to the “peak hold” function). Adjust now the “trim” of the track (or the gain control plug-in which I mentioned earlier), so that the highest peak reaches –12 dB on the peak meter. For example, if a track reaches –4.7 dB, you need to reduce it by 7.3 dB.
Once done, move on to the other tracks. This time around we’ll use the virtual VU-meter inserted on the Master track, whose 0 VU mark is calibrated to –18 dB. Now, solo a track and adjust the trim so that the needle of the Master track’s VU-meter never exceeds 0 VU. Once that’s done, move on to the next track.
All this work might seem long and tedious at start, which is why it makes no sense to have your speakers on while you are at it, at the risk of stressing your ears for nothing. However, once you get used to it, this procedure shouldn’t take you more than 15–20 minutes per song and the result is well worth it! In fact, if you listen to your song now, it should have a maximum peak level close to –6 dB, which guarantees enough leeway to work comfortably.
Okay, the time has now come to confront the vision of the mix you put to paper last week and the result you got today. Does your “mixing plan” seem realistic/feasible? What can you learn from listening to your mix this way in order to fine tune your original vision? What strategy should you use to meet your goal? We’ll talk about all this in the next installment!