

Today we'll continue our discovery of the use of compression with an application that will surely interest all of you: An increase in loudness.
Target
The goal today is to get a sound that is considered overall louder. I know I have tried many times to get you to understand that the loudness war is not good and, yet, it seems I contradict myself with this article. Except that, in this case, the idea is not to get a sound on steroids by crushing the dynamics out of your song, while at the same time depriving it of any liveliness. No, today we’ll try to gain one or two decibels in the most transparent way possible, in order to give your song a push without altering it. To achieve that, you need to increase the mean level of every track, while preserving the peaks as much as you can. That might sound complicated at first, but it’s not as hard as it seems if you know how to do it.
Step by step
The secret behind this technique resides in the knee and threshold settings. However, before that, start by setting a ridiculously high ratio. Something like 20:1, for example. With such a ratio, your compressor behaves almost like a limiter. As for time constants, the settings described in the previous article will do the job.
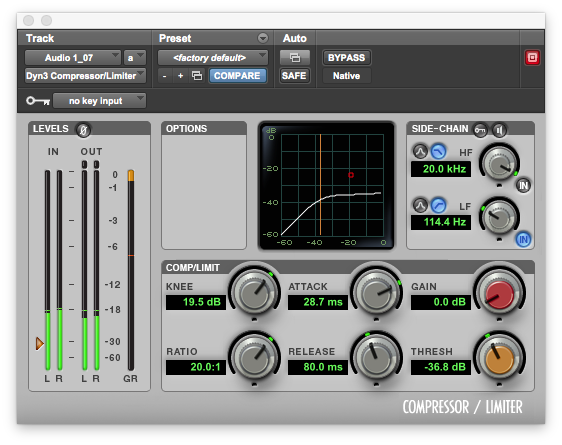
Now, focus on the knee parameter. Choose the softest value possible, which will make it easier to use extreme settings with the other parameters. But be careful not to overdo it, because if the slope is too soft it can jeopardize the transparency of the end result. Generally speaking, you should choose a knee value according to the dynamic differences of the processed signal. If you have absolutely no idea where to start, 20 dB is a good point of departure. (Ed Note: Not all compressor plug-ins offer a user-adjustable knee parameter. If yours doesn’t, it likely has a preset soft-knee setting. Check its specifications at the manufacturers website if you want to be sure.)
Now, move on to the threshold. In this case, it all depends on how much of the peaks you are willing to “sacrifice.” Remember that with a ratio setting this high, your compressor is currently acting as a limiter. So, in theory, even the slightest peak that exceeds the threshold will be clipped, unless the knee setting allows the compressor to gradually act on it. Consequently, it’s possible to lower the threshold more or less without leveling out the peaks too violently. Start with the threshold at 0 db and lower it slowly until you start to observe a reduction of the peaks. When that happens, bring it up a bit and that’s it! Now use the make-up gain to find an output level for the peaks that is identical to the one before compression. When you do, you’ll perceive a net gain in terms of loudness.
One last point before closing this installment. When practicing this technique, you might notice the appearance of the pumping effect. Most times, it’s due to bad attack and release settings. However, the cause may also be due to excessive triggering of the compressor by the low end portion of the signal. To correct this, use a compressor featuring a high-pass filter in the sidechain and filter out the lows, so they remain invisible to the compressor’s detection circuit.