

In this second installment dedicated to using an EQ during mixdown, I'll let you in on another "secret" and then we'll see where to actually start working...
Life in mono

While working in context is the secret to a successful EQing (see the previous article), EQing in mono is a trick that is just as effective. Indeed, if you succeed in getting a perfect articulation of the instruments in mono, switching to stereo won’t pose any problem and will even enhance more this sensation of how everything fits together. The opposite will be false three out of four times.
Besides, almost nobody listens to music sitting comfortably in the best position to make the best out of the stereo image. Generally speaking, the listener presses play and goes on with his life. Who hasn’t put some music on to take a shower, cook, or simply play in the background while having a beer with some friends? Such kinds of experiences can be easily compared to listening in mono.
Consequently, EQing first in mono is a pretty healthy reflex when working on the articulation between the pieces of the sonic puzzle. Once all elements can be heard distinctively enough, you can then go over it again in stereo to fine-tune everything from the point of view of the stereo field.
Allegro method
Okay, it’s time now to address the EQing itself. Most tutorials you find online advise you to start with the flagship instrument of your song, then move on to the next most important instrument, and so on. This way of approaching things has never really convinced me, especially as it encourages you to process one track after the other in solo mode, which is a sacrilege, in my opinion.
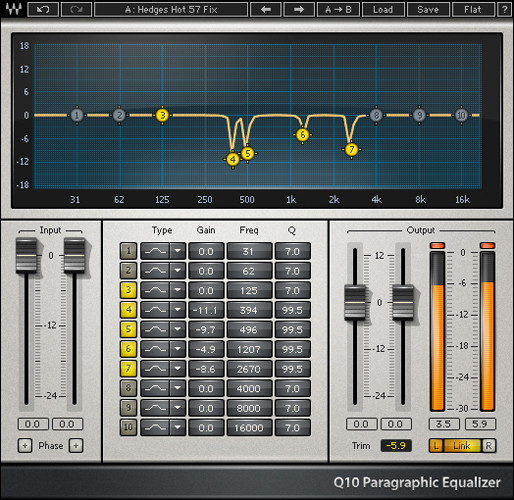
Personally, I prefer by far to approach it in a more global way, in what you could call “frequential trimming.” This consists in cleaning up of the frequency spectrum of every element, removing “useless” frequencies, in order to make some room for everybody in the mix. I always start with the low end of those instruments who don’t really need to be there. Then, I move up to the low mids, then the mids and, finally, the high end. Do note that when I say clean up, what I mean is to attenuate the frequencies.
This subtractive approach has many advantages. First, since you are attenuating, you are not eating into your headroom, on the contrary, you are increasing it, which is better than nothing. Second, doing it this way, you don’t risk being tricked by the “louder is better” effect. Finally, unlike with the boosting technique ─ which basically consists in using forceps to stick one instrument on top of the other, every instrument will smoothly reveal itself to find its place naturally in the sonic puzzle.
In the next installment, we’ll see how to carry out this trimming work in the low end.