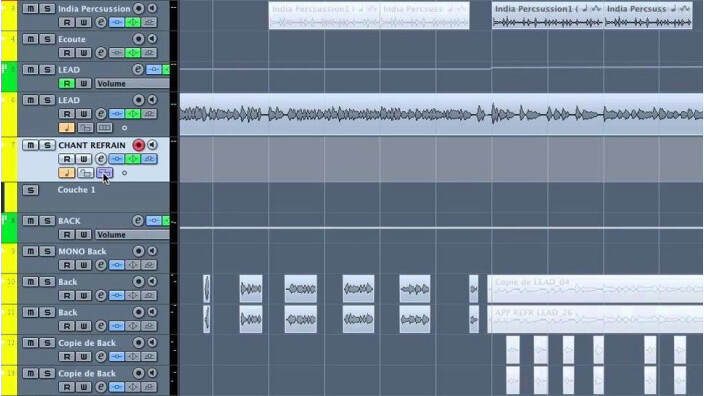
In today's article you'll see how to put into practice the recording by parts technique so that the end result is as natural as possible.

Lego Technic
As I told you last week, recording by parts consists in tracking separately the different sections of the same instrument when its sound changes drastically in order to get an optimum result. However, the use of this technique raises several questions regarding how to go from one section to another. Obviously, when there’s silence between the two parts there is no issue. But when the sections in question are one right after the other, you have to bear in mind a couple of things to make the coupling as smooth and natural as possible. At first glance, there are only two possibilities: a clean cut or a progressive transition. But in fact the second option entails some subtleties, which we will see in a while…
In the first case, it’s very easy: the last note of the first part (A) stops right when the first note of the second part (B) starts. This way of doing things is ideal when the transition between A and B takes the form of a rhythmic break. In fact, this highlights the sensation of rupture and contrast between the parts, which is totally in line with the musical arrangement. Also note that this solution is the one that is more akin to a “live” situation, which makes it very interesting.
In the second case, things get a bit more complicated, but the general idea is to crossfade the end of part A and the beginning of part B. There are several ways to achieve this:
The first one is to let the last note of part A linger while part B begins. This last note will fade out naturally, but you can always give it hand with a filter to make the transition smoother.
A second possibility consists in making the “first instrument” of part A play the first note of part B at the same time as the “second instrument.” Once again, the natural or assisted fade out of part A will make the transition flow more naturally.
That’s all pretty nice, but there’s a snag: sometimes the change between A and B comes together with an harmonic modulation. This rules out the first possibility because the last note of part A doesn’t match part B in terms of harmony, which means you have to go with option 2.
Finally, one last possibility is to start part B slightly ahead of time, as a sort of introduction. This solution works pretty well when you want to signal an increase of energy. But you have to be careful with any eventual harmonic modulations, which means you might need to write a brief bridge to avoid any notes that seem to be out of tune.
Clarifications
To conclude this chapter dedicated to recording by parts, I insist once again that this technique is by no means mandatory and I only recommend its use when the sound of any given instrument changes drastically between two parts. To be more clear, this doesn’t apply to dynamic changes in vocal parts because they are an integral part of the performance. If you still have doubts about when to apply this technique, here are some examples where I would use it:
- Folk guitar arpeggios versus strumming.
- Melodic vocals versus rap.
- Clean bass versus distorted or slap bass.
- Drums with brushes versus drums with drumsticks.
- etc.
In all of these examples the changes in sound are considerable, which makes the resort to recording by parts interesting.
And that’s it for today. Join me next time for a new installment dealing with punch in and punch out.


