

If you are someone who’s interested in learning more about recording technology — and you probably are, since you’re reading this — you may have come across interviews with big name engineers and producers who advise budding recordists, “Use your ears, not your eyes,” in reference to making mixing decisions or other production-related choices. On the surface, that’s one of those “duh” statements, which we all agree with. But...
Sometimes that advice causes recording musicians to pay less attention to some of the useful visual clues that DAWs and other recording software offer us. I’m not even referring to the many types of meters available, whose visual displays are hugely helpful for judging variables like phase correlation, RMS level, and whether clipping has occurred. Clearly, we’d be hard pressed to use our ears to glean the precise data that we get from them. What I am talking about is what you can tell from looking at the waveform display that your DAW creates to represent the audio on a track.
Looking down the lane
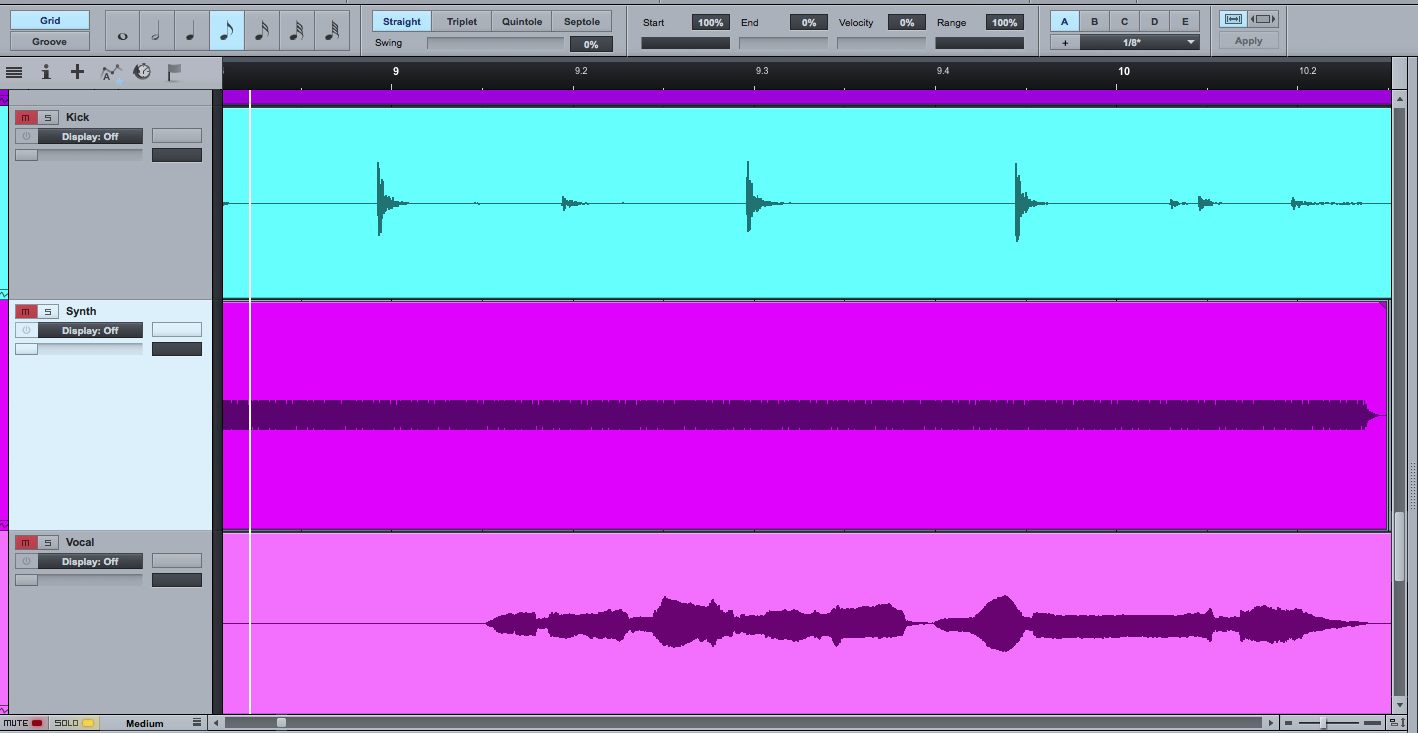
Different types of tracks create different types of waveforms. Transient heavy and staccato instruments like drums are more spiky and short, whereas more legato elements such as a sustaining synth sound will look different. This screenshot shows a kick (top), a simple sustaining synth note (middle) and a vocal track (bottom).
Probably the most useful visual feedback you can get from a waveform display is to see where a track’s level changes over the course of a song or section. If I’m trying to, say, even out a track’s volume from beginning to end, I can glance at the waveform and instantly see where I have to make volume adjustments. Sure, I’ll listen to check it, but I can zero in on the spots that need work very quickly with my eyes. It’s a time saver when mixing.
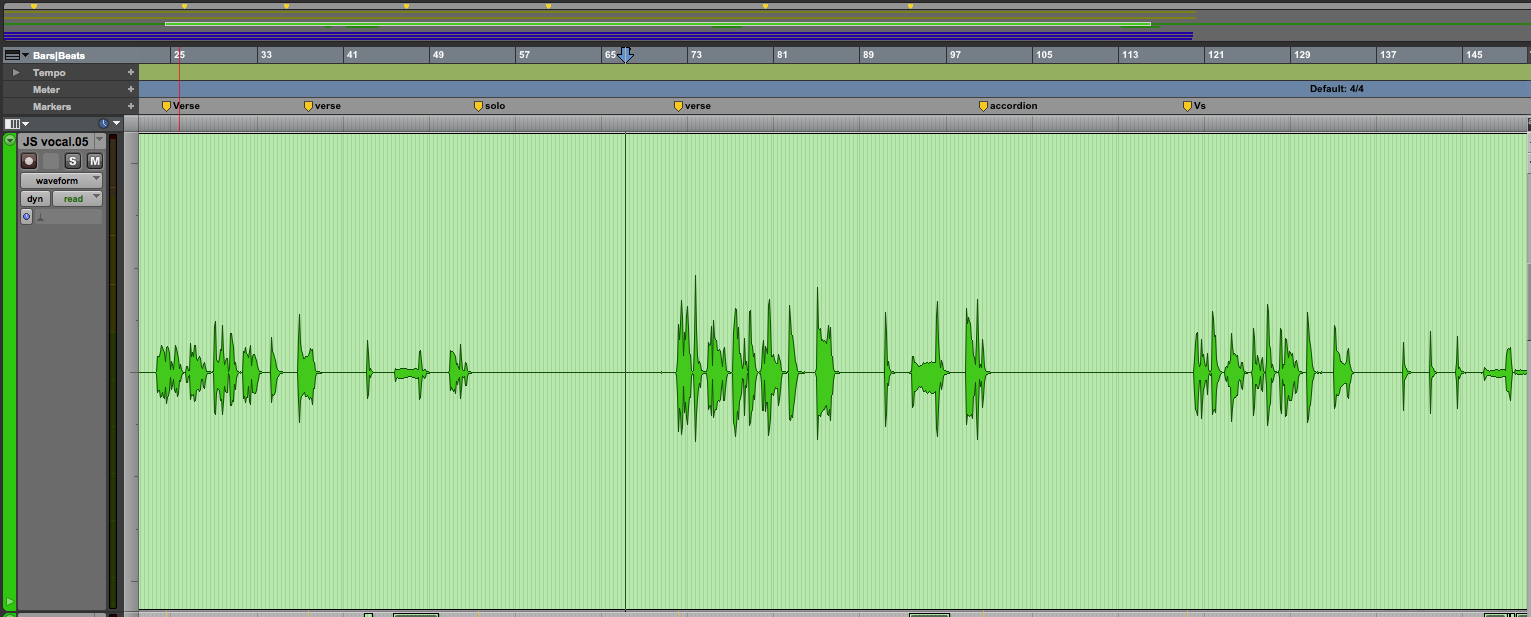
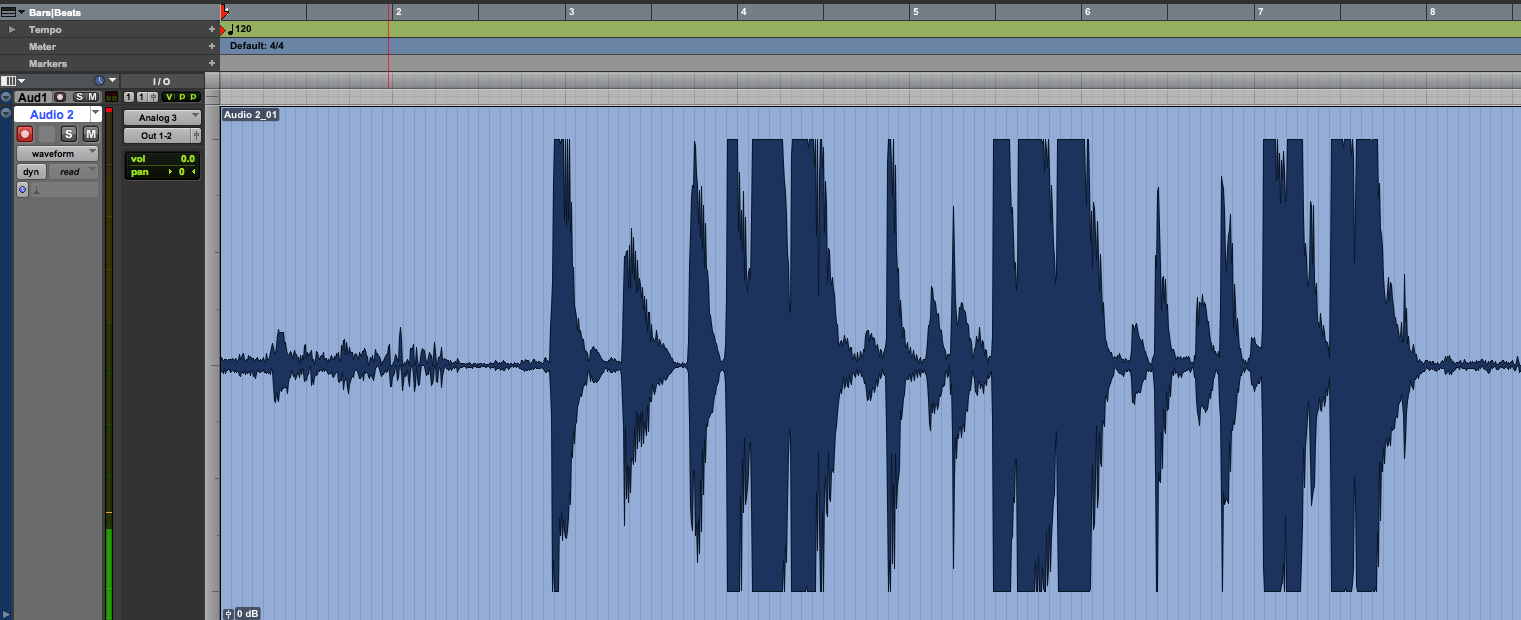
Comparing the height of displayed waveforms is also useful when evening out volume between songs on an album, or sections of a long-form production like a video or podcast. For instance, the screenshot below shows a vocal track where the middle section is clearly louder than the rest of the track. A quick look lets you know where the fluctuations occur in the recording.
Finding the glitches
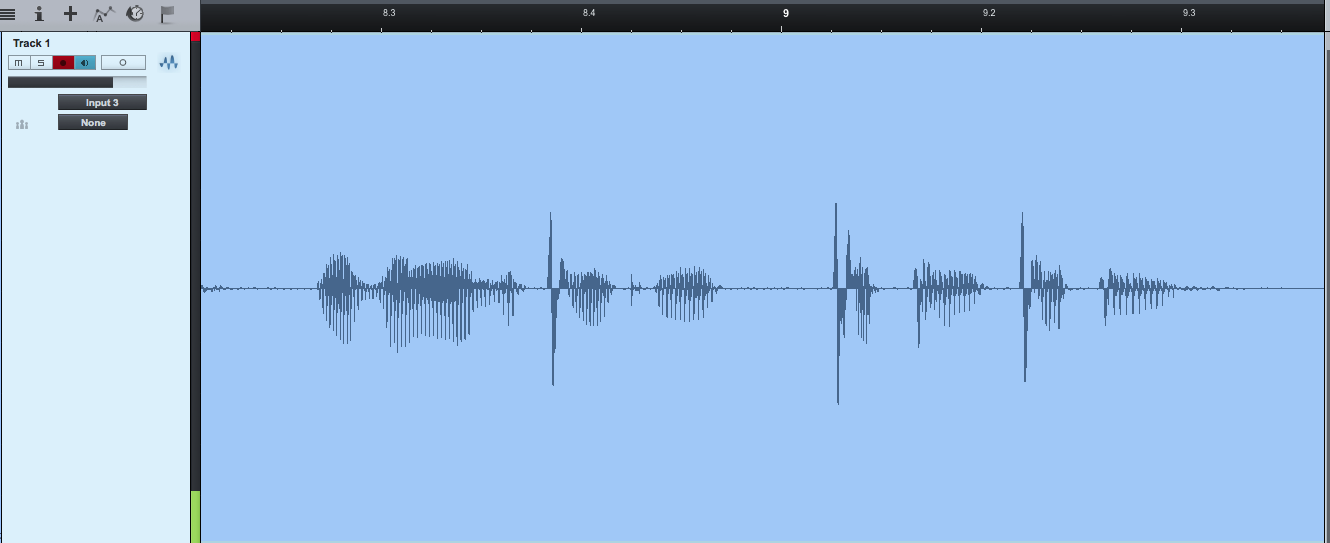
You can also use your eyes to see particular types of glitches in audio waveforms. Plosives — popped “P”, “B” or other hard consonant sounds — are something you can learn to spot pretty easily. They have a distinctive look compared to other types of waveforms. The spiky looking sections in the screenshot below are plosives. You can learn to spot them pretty easily, making it quick to select and deal with them. It’s usually better to substantially reduce their level using your DAW’s volume automation or gain control, rather than cutting them completely.
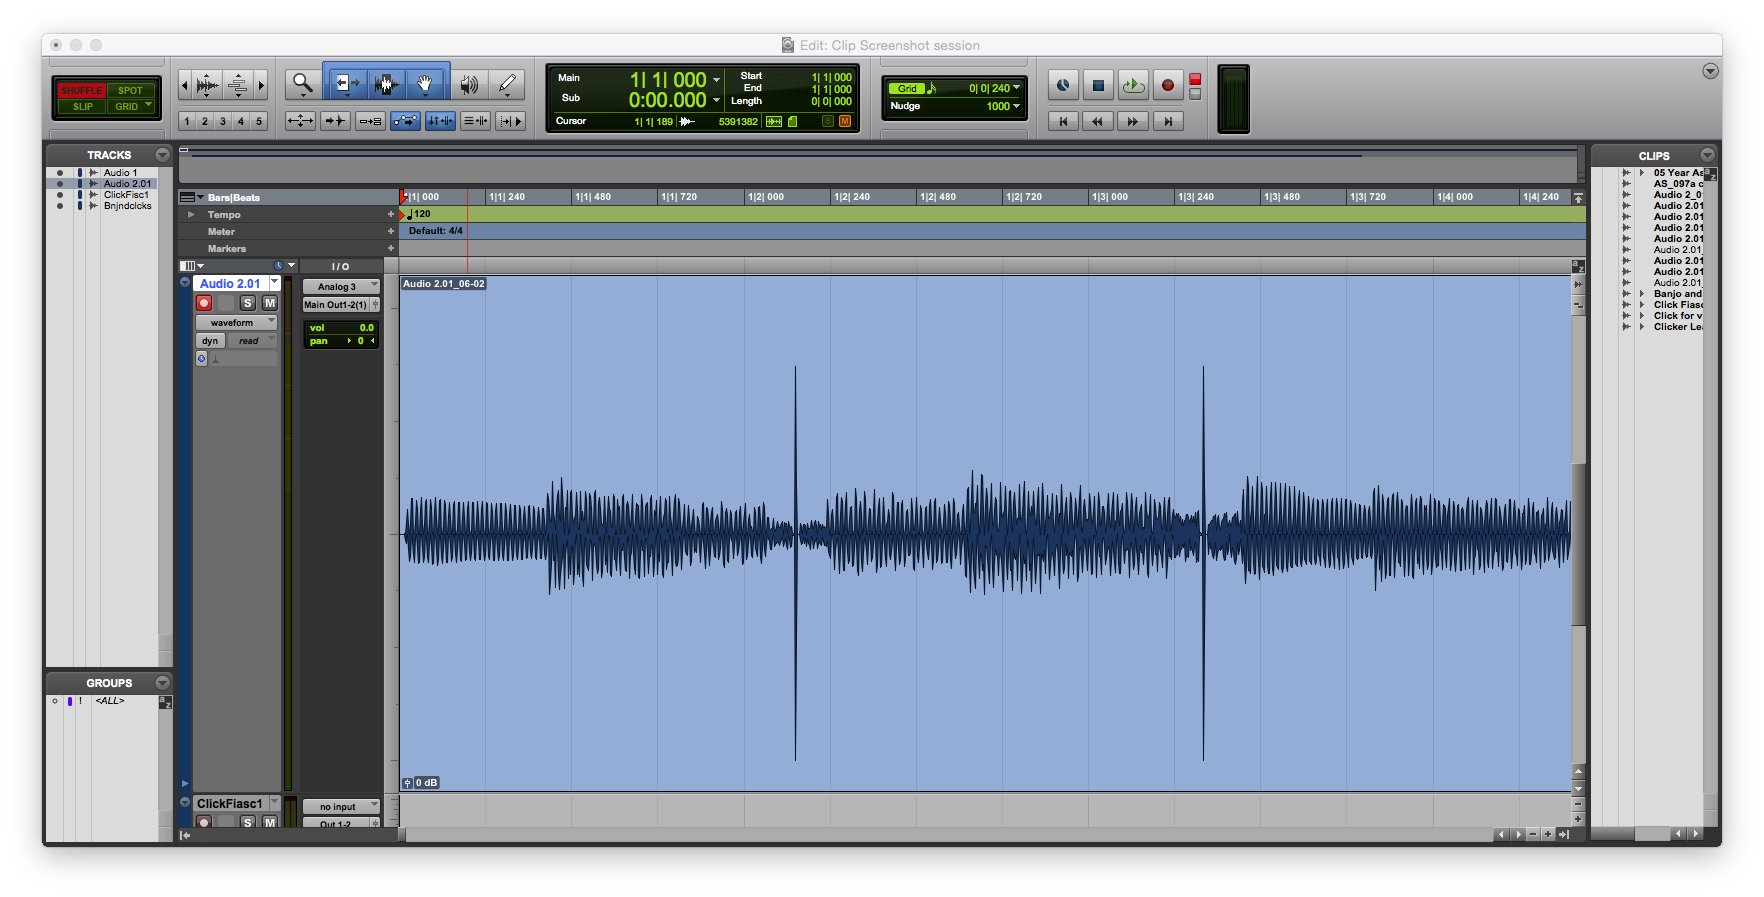
Clicks are pretty easy to spot, as they appear as tall, thin spikes. The screenshot below shows a guitar track with clicks in it. If you only have a couple, you can edit them out manually. If a large number of clicks have infiltrated your track, it’s more efficient to use a processor plug-in with declicking capabilities (for example iZotope RX4), or any built in declicking your DAW might have.
You can also use the waveform display to spot clipped notes. That is, notes that exceeded 0 dB during recording. You can tell if a note is clipped by its “flat top” waveform. In the example below, you can see the difference between the clipped and unclipped sections.
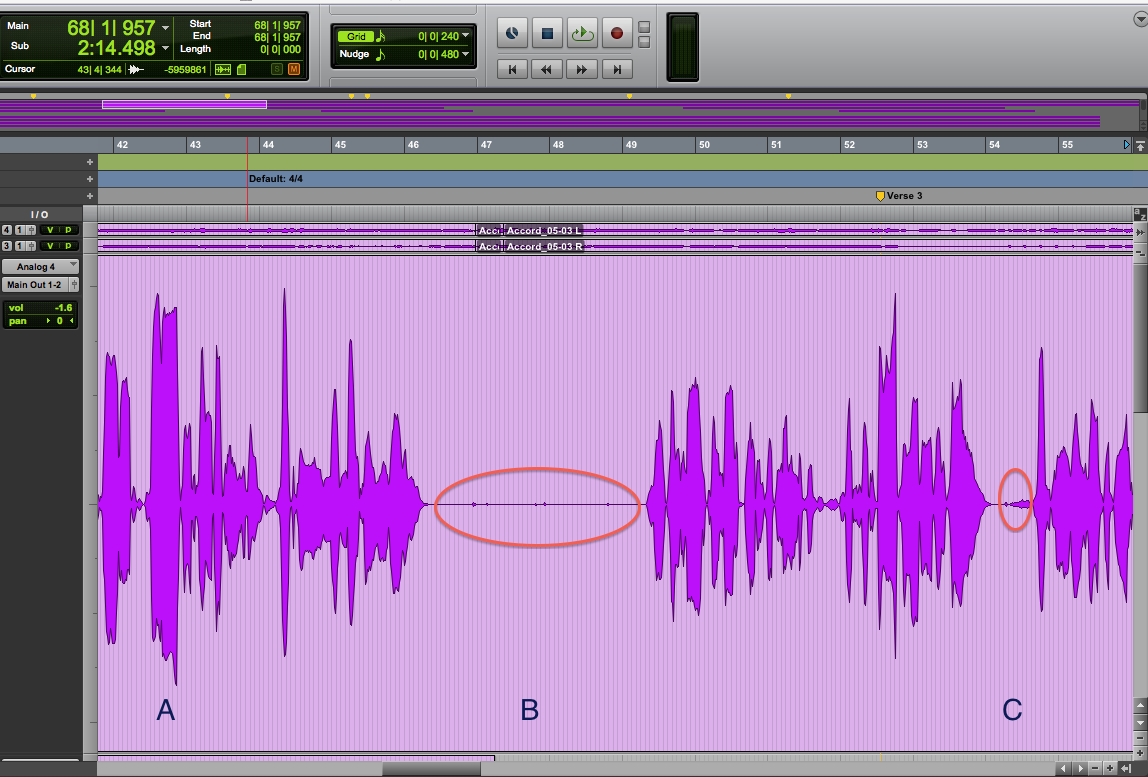
From a glance at a track you can often glean other info as to its contents. In the annotated screenshot below, the area above the letter A is louder than the rest, the area above B and circled in red contains some extraneous audio picked up by the mic, and the circled area directly above C is a breath by the vocalist.
The gist
The overall point of this article is that you can learn a lot from a waveform display by using your eyes, and it helps you work more quickly when you can understand what you’re seeing in a track’s display. Your ears may be the ultimate arbiters, but that doesn’t mean your eyes are deceiving you.